AIRCAT
OCEANIC
Using the rendered model to create travel posters.
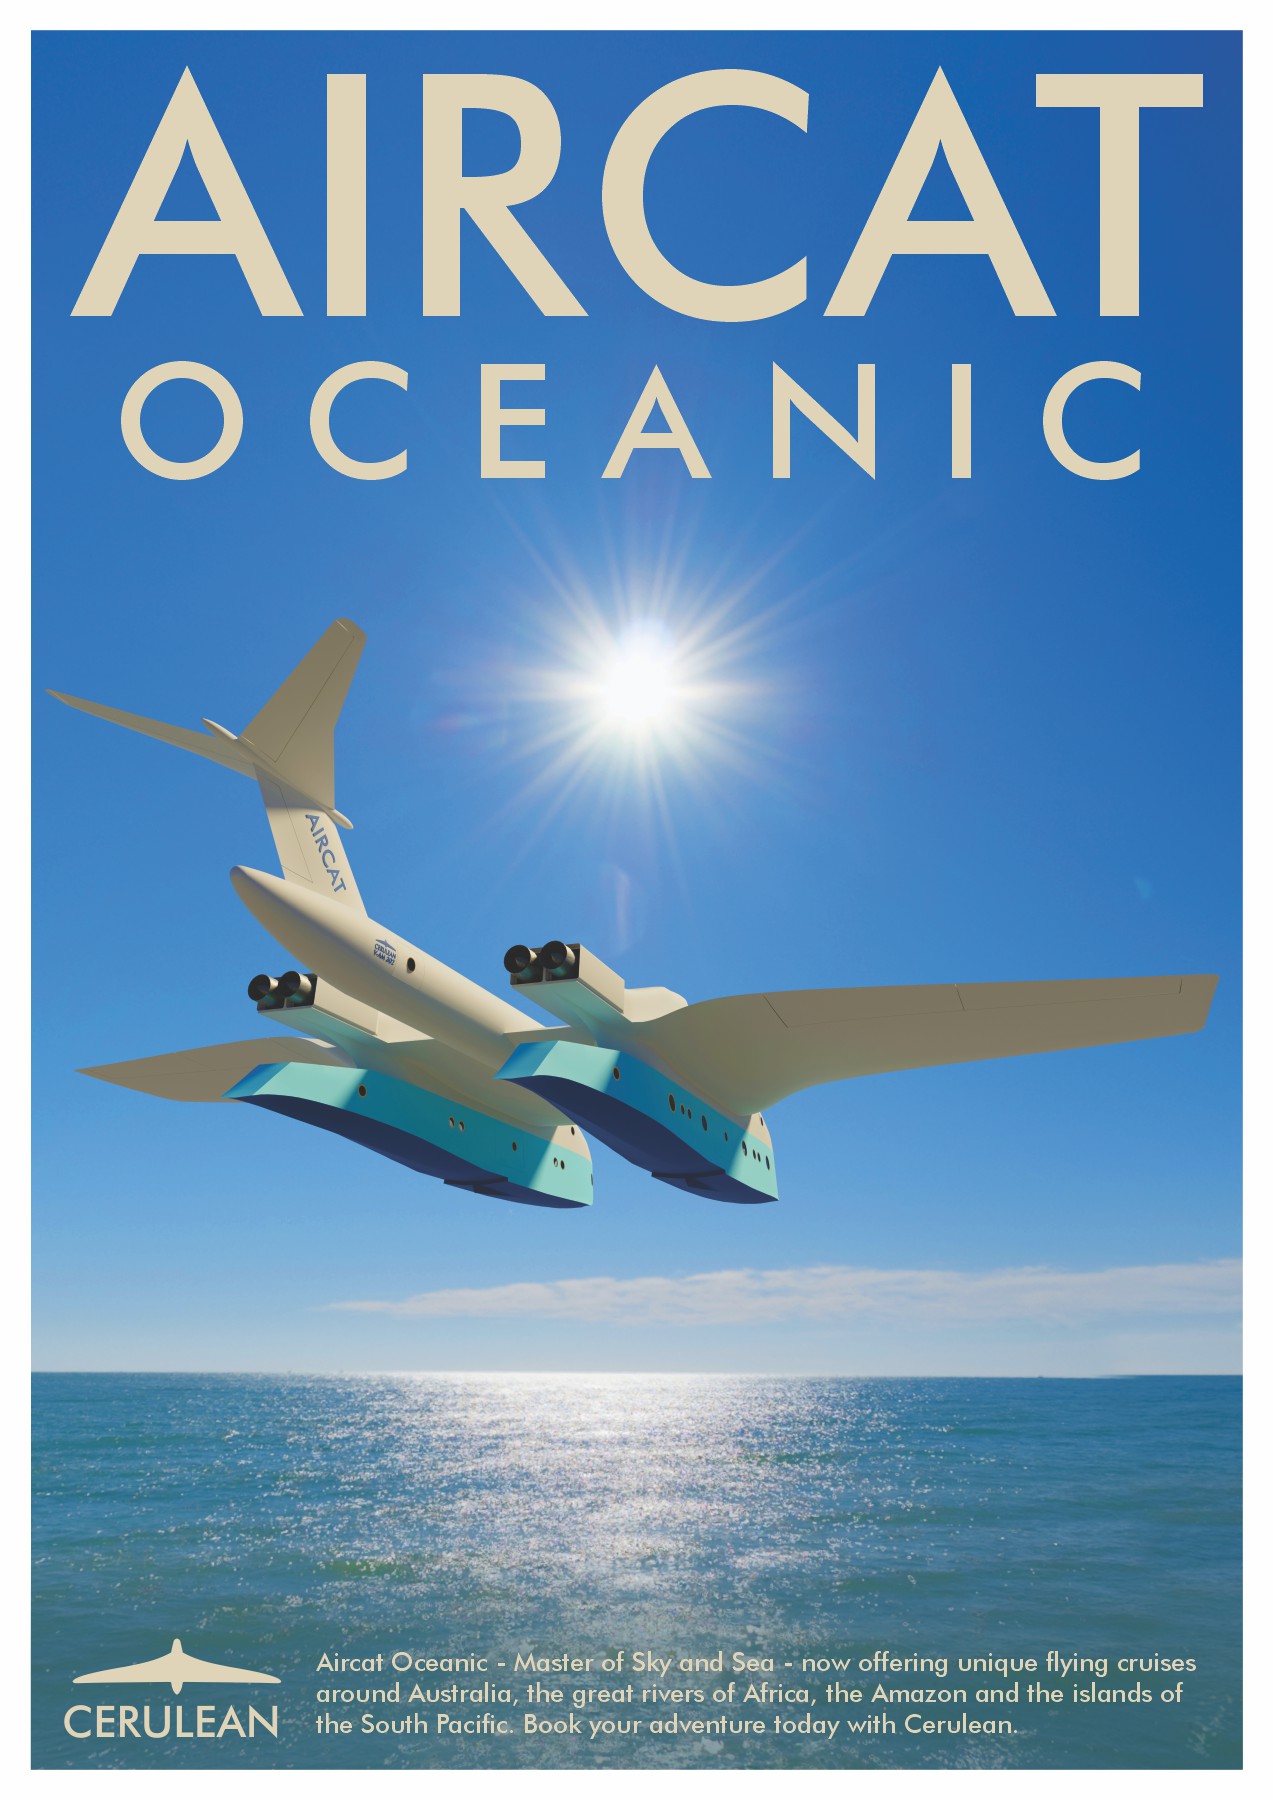
The Aircat Oceanic Master of Sky and Sea poster.
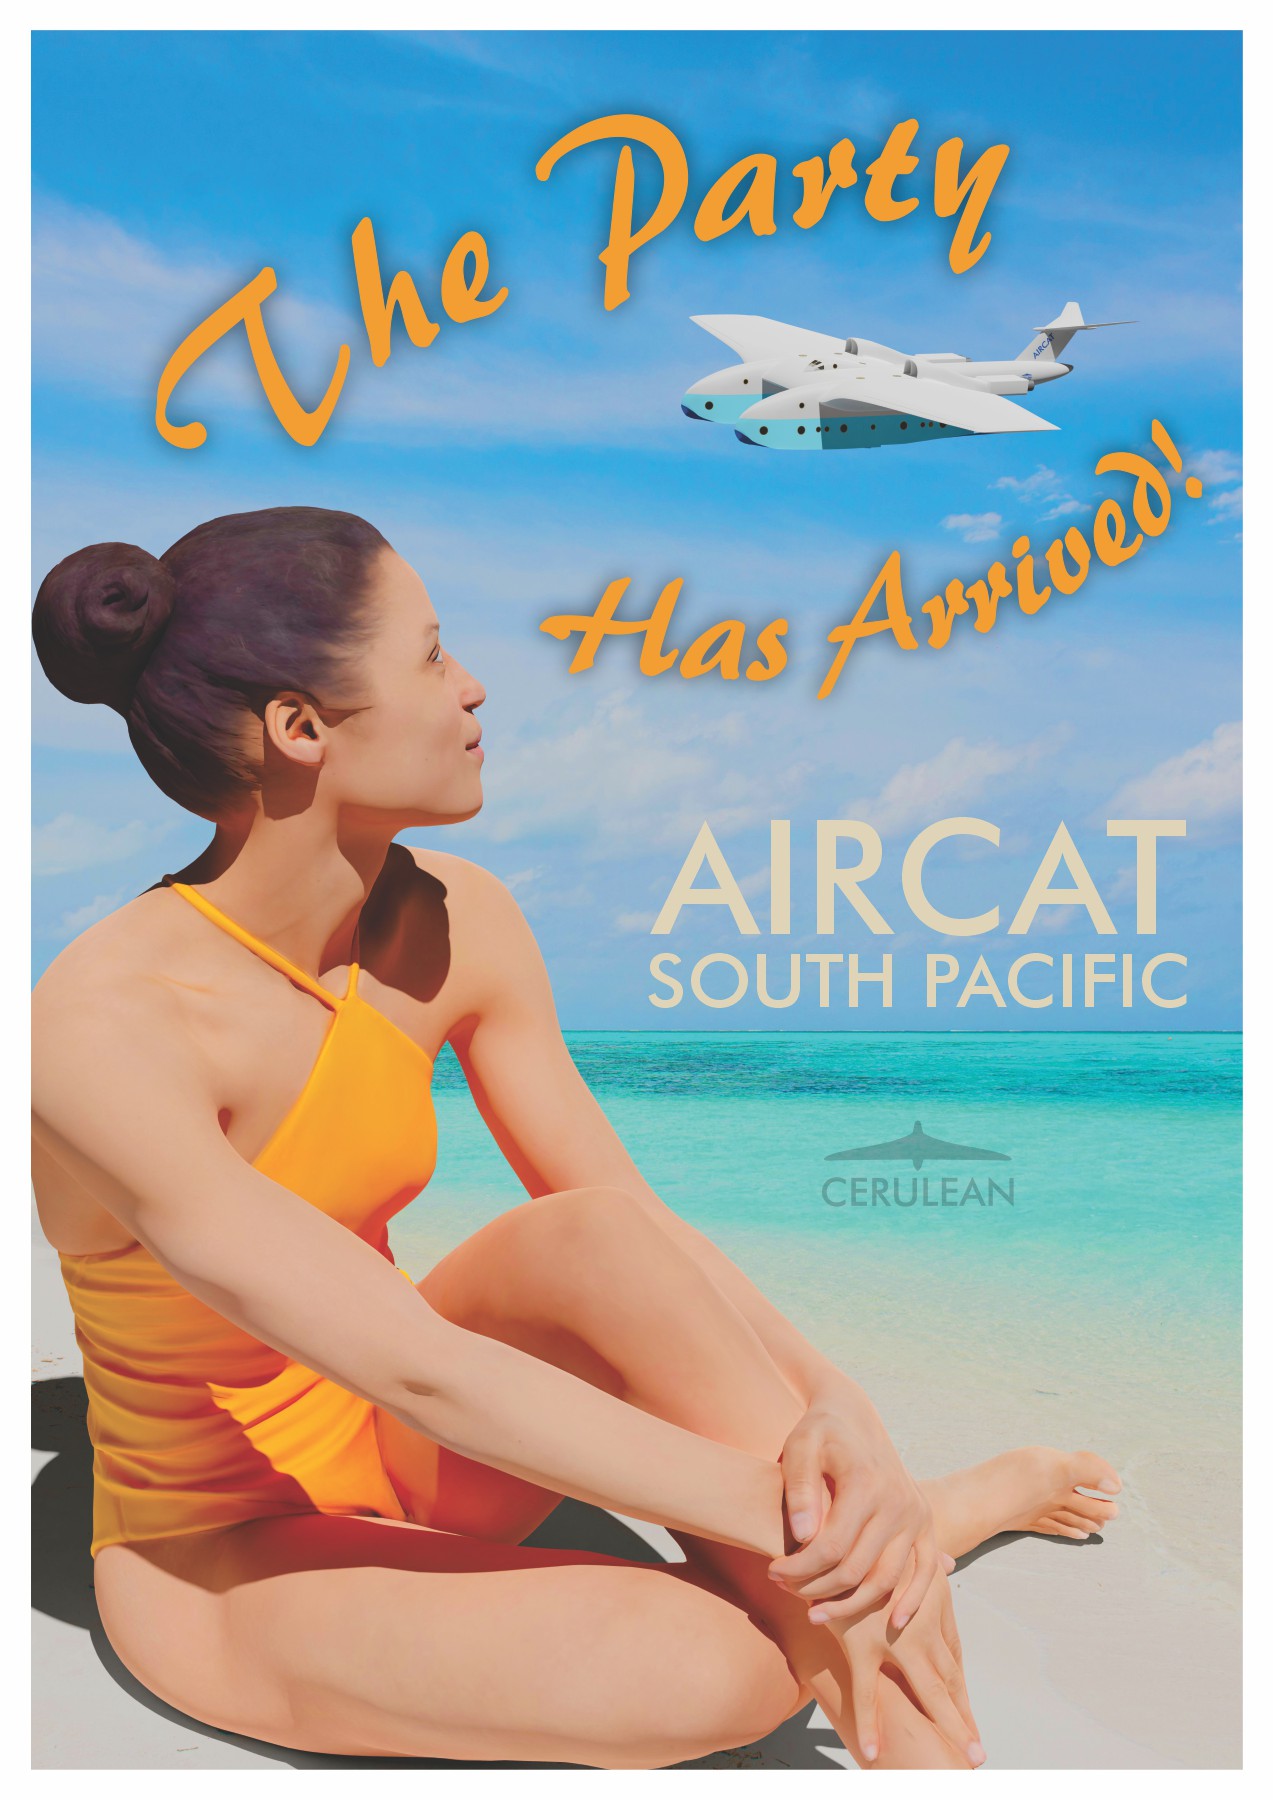
The Aircat Oceanic Party has Arrived poster.
Poster proofs-of-concept
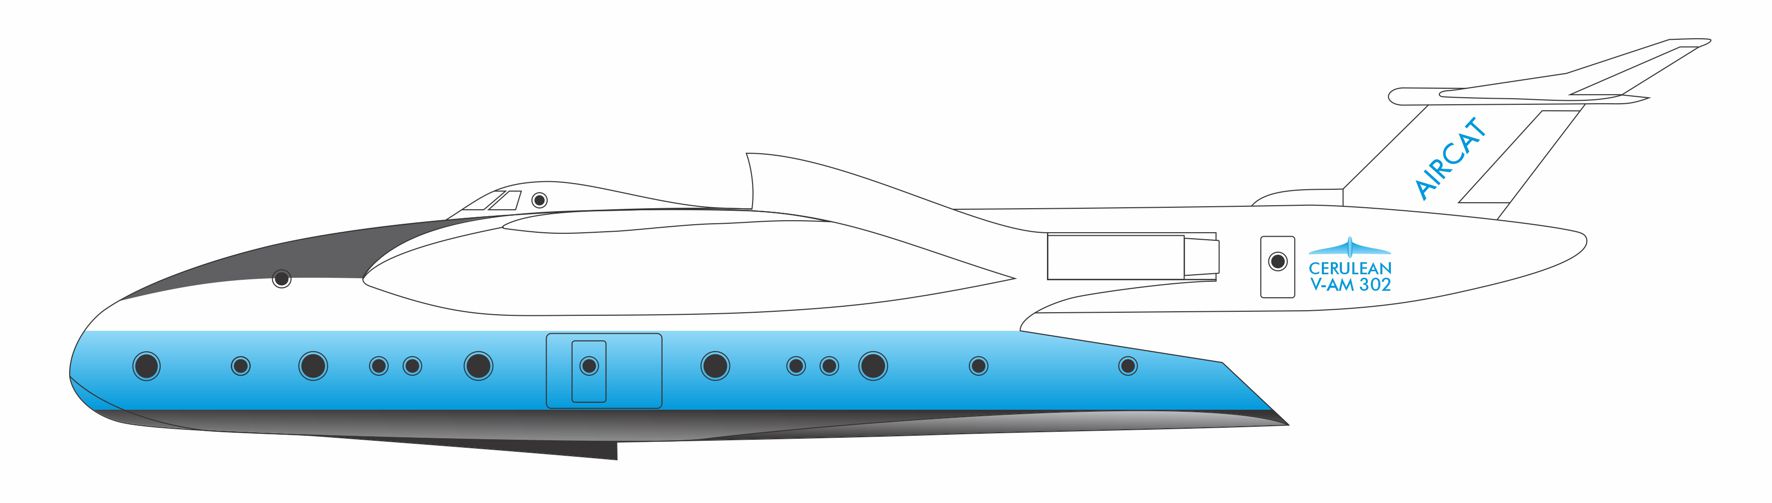
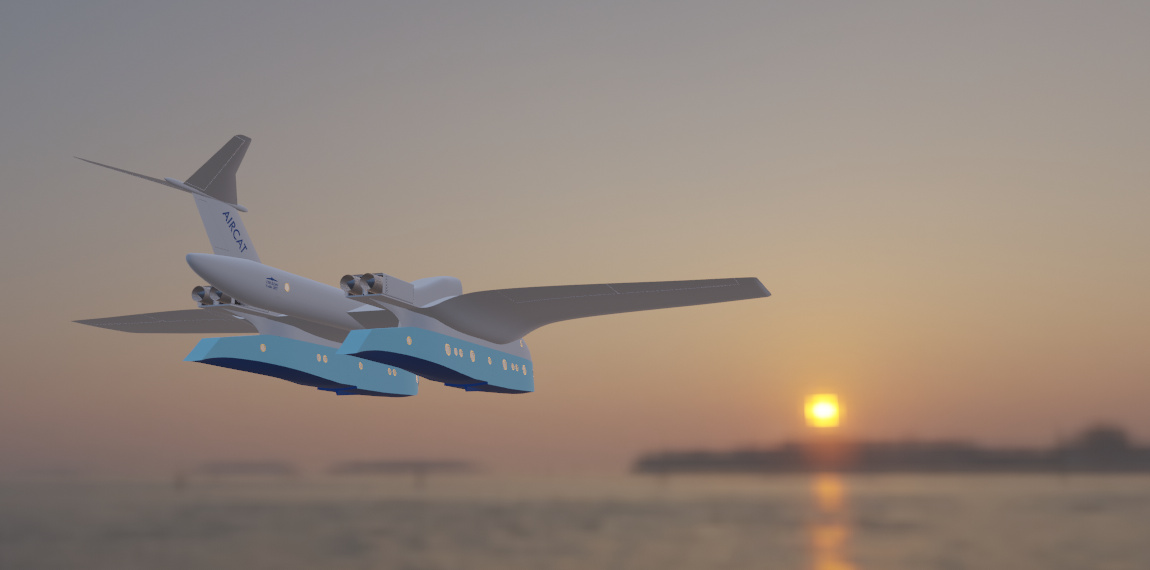
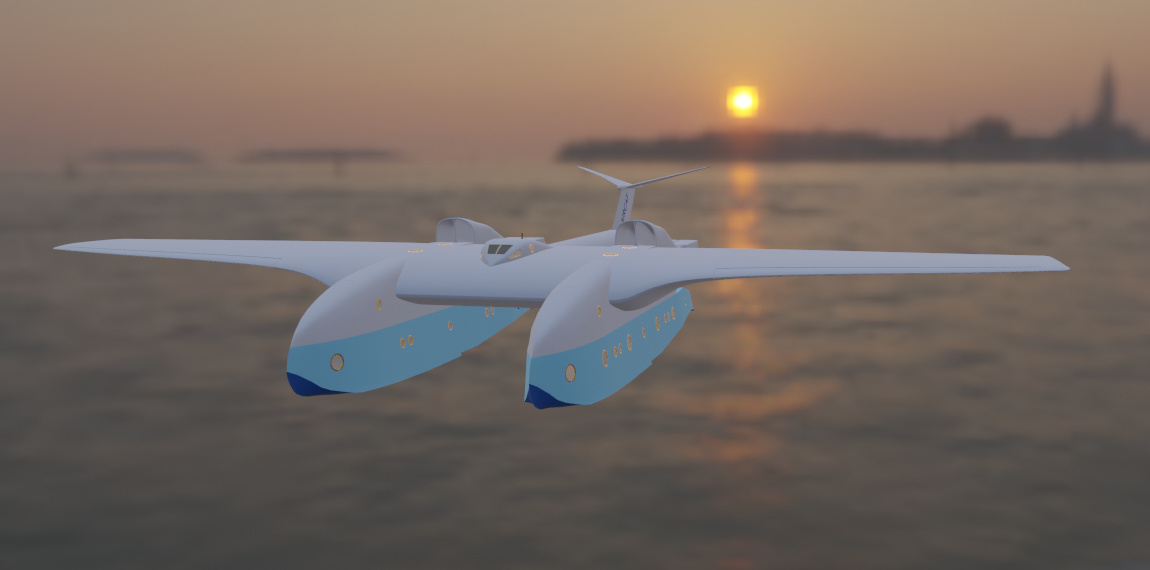
Modelling done and basic materials applied, it's time to start looking at decent poster renders. Two initial images:
Starting a first Aircat poster
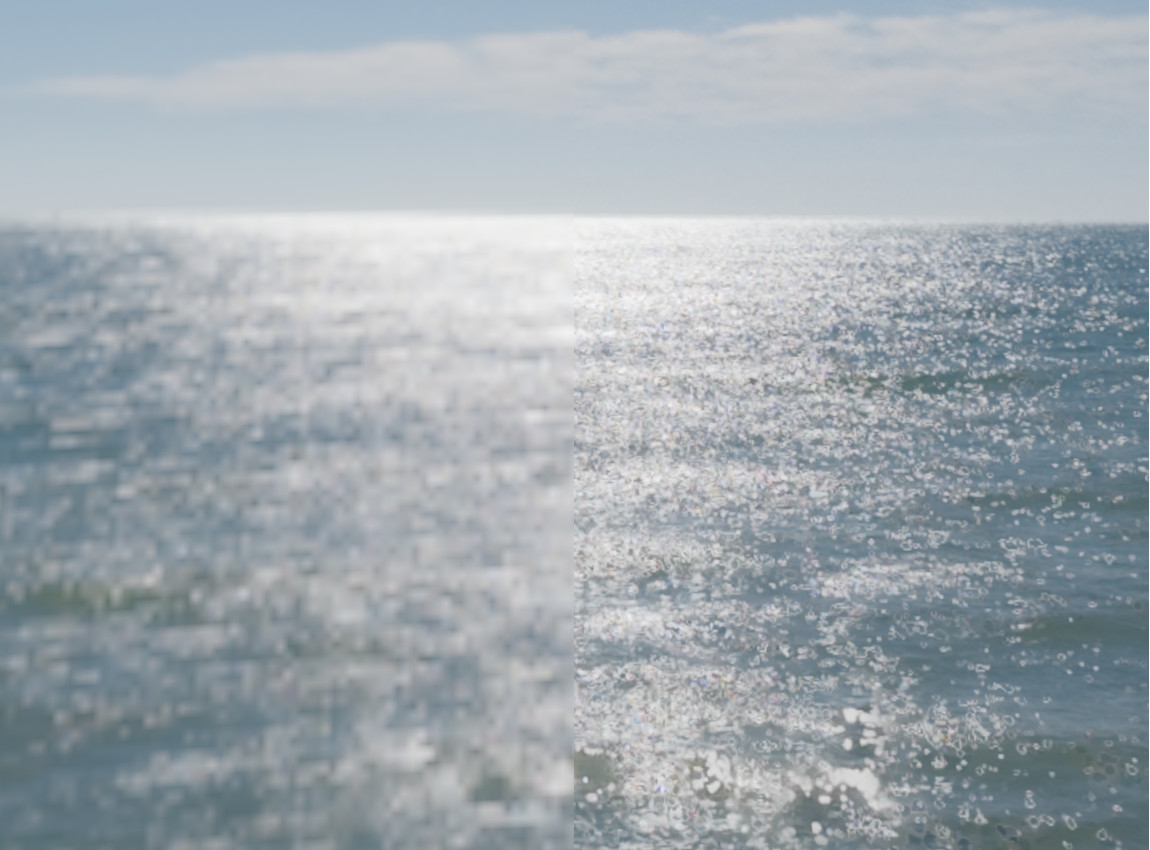
I was following the proof-of-concept ideas and testing different HDRI files. I found a great candidate at openfootage. That was giving me good results but in the large renders Aircat was in focus and the sunlight reflecting off the ocean definitely wasn't. There was no problem as such - the free HDRI just isn't that high resolution. So I paid my AUD$13 and bought the high resolution version. The difference is quite dramatic and the results much better. In the image below the left side is the free low res version, the right side the $13 high res version.
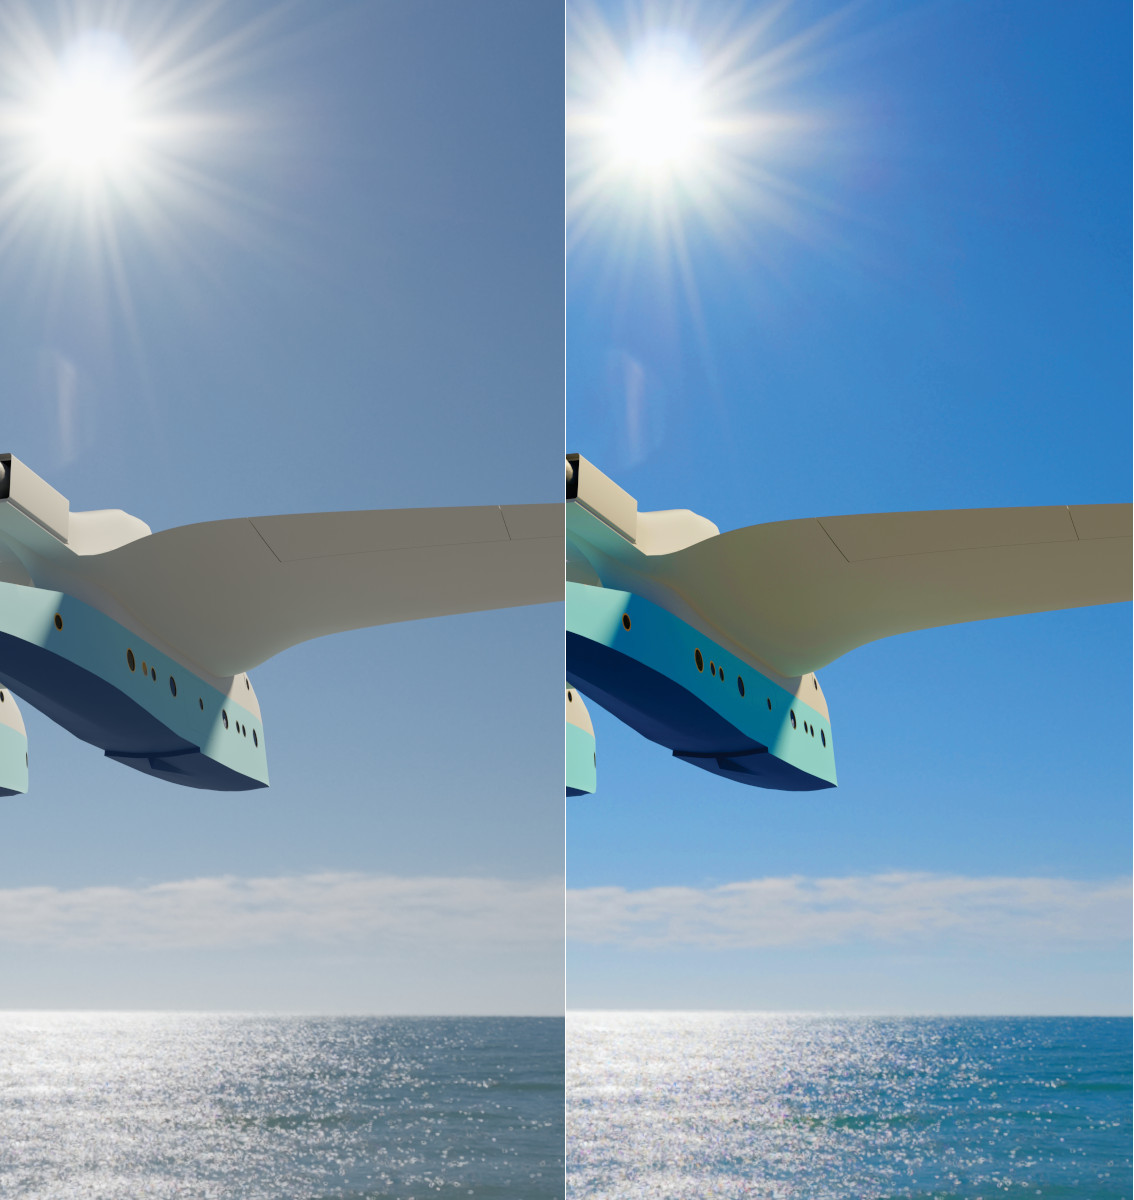
I always find I need to adjust colour, saturation, brightness and contrast to get an image ready for printing. The image below shows the effect of those adjustments for Aircat.
A first Aircat travel poster
Here it is - my first Aircat travel poster. I've intentionally left it clean and simple. The emphasis is on showing some of the unique forms of Aircat in its two natural environments - sea and sky.
The second Aircat travel poster
I wanted to do something different with the second Aircat poster - to introduce a human figure. As usual there are a huge number of options and all of them have different costs and learning curve implications. I really wanted something simple. It turns out there are many places where you can download people models, and a lot are free. I had a vague idea of what I was looking for and in the end found it on 3D People in the form of 10901 Diana.
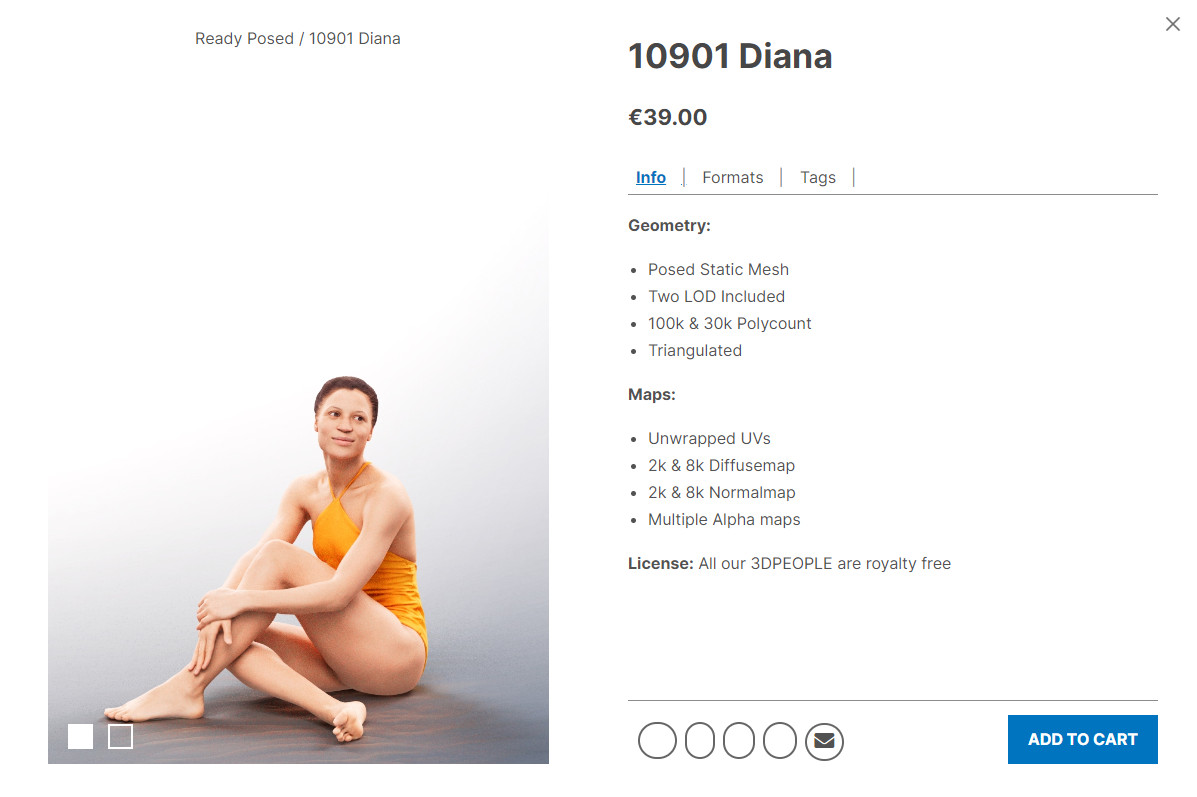
I wanted a good quality model, and from what I could see Diana fitted the bill, but before shelling out €39 (around AU$70) you want to be sure it's all going to work. Well, 3D People let you download a free model to try. I did that and could not get the textures to work. But at the other end of an e-mail address is a real person that sorted out my problem - all good.
The next challenge was to do a bit of planning to reassure myself the scene I had in mind was going to work. So I did a series of mock-ups using a graphics program. It was all very rough and ready, but was enough to convince myself it was possible.
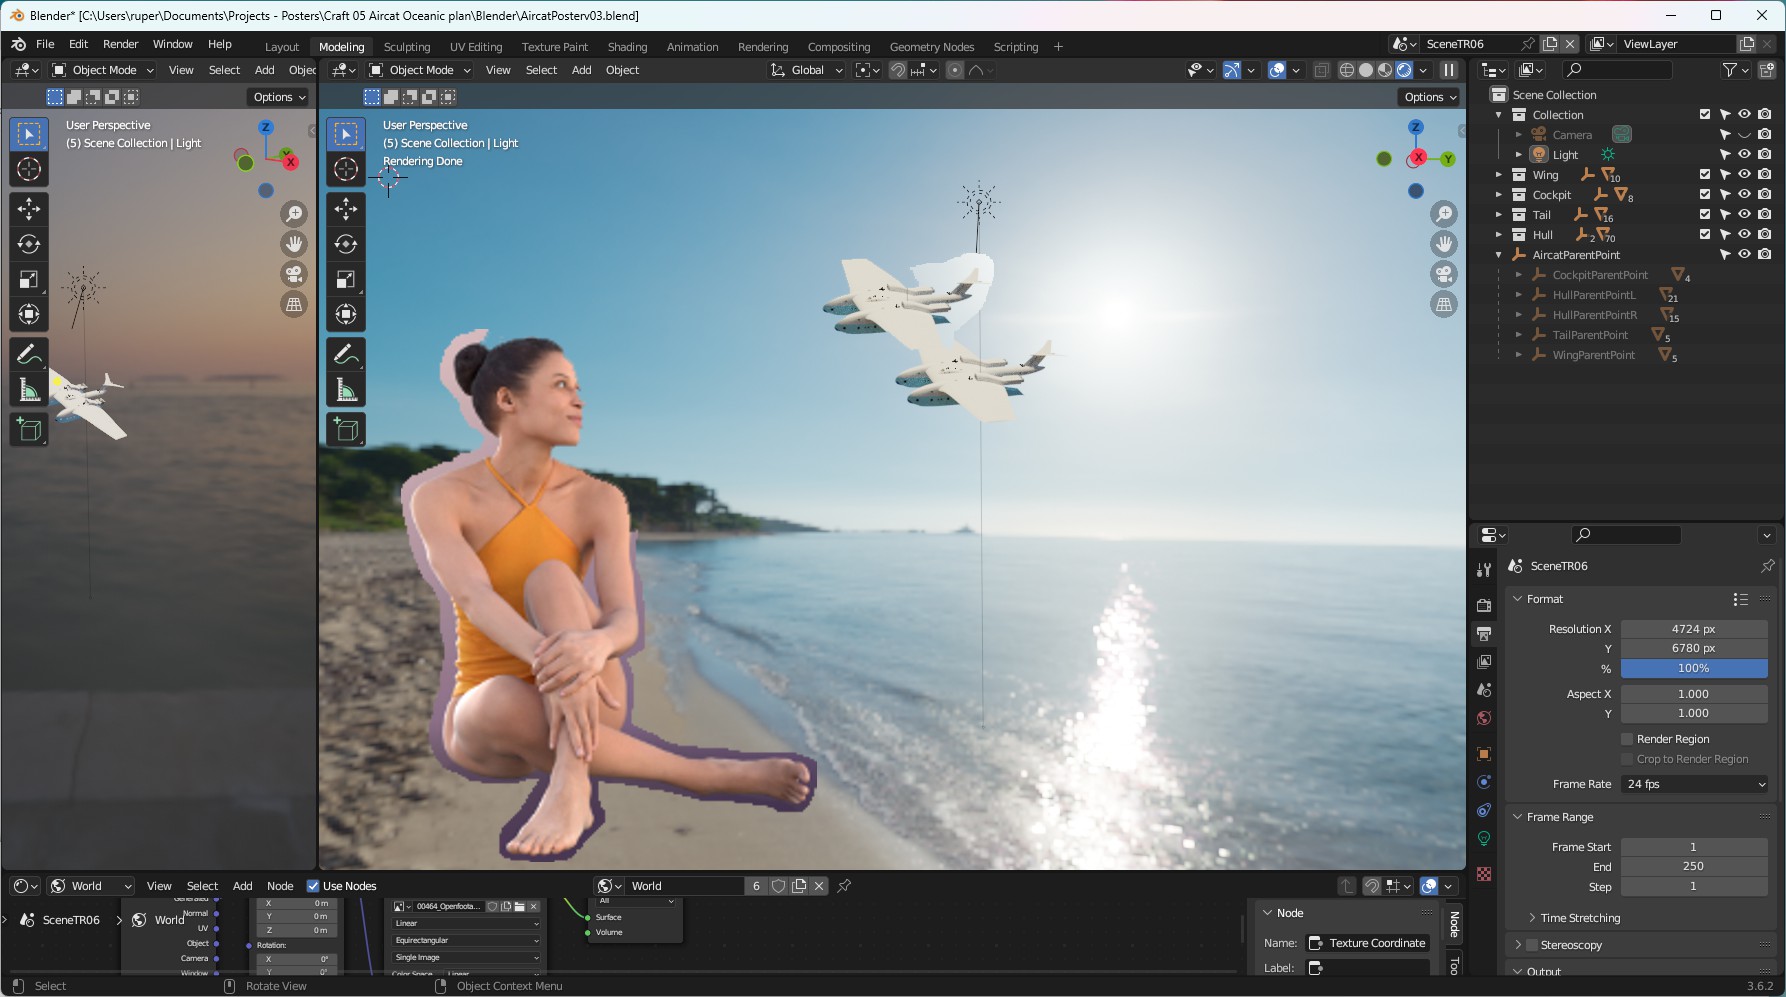
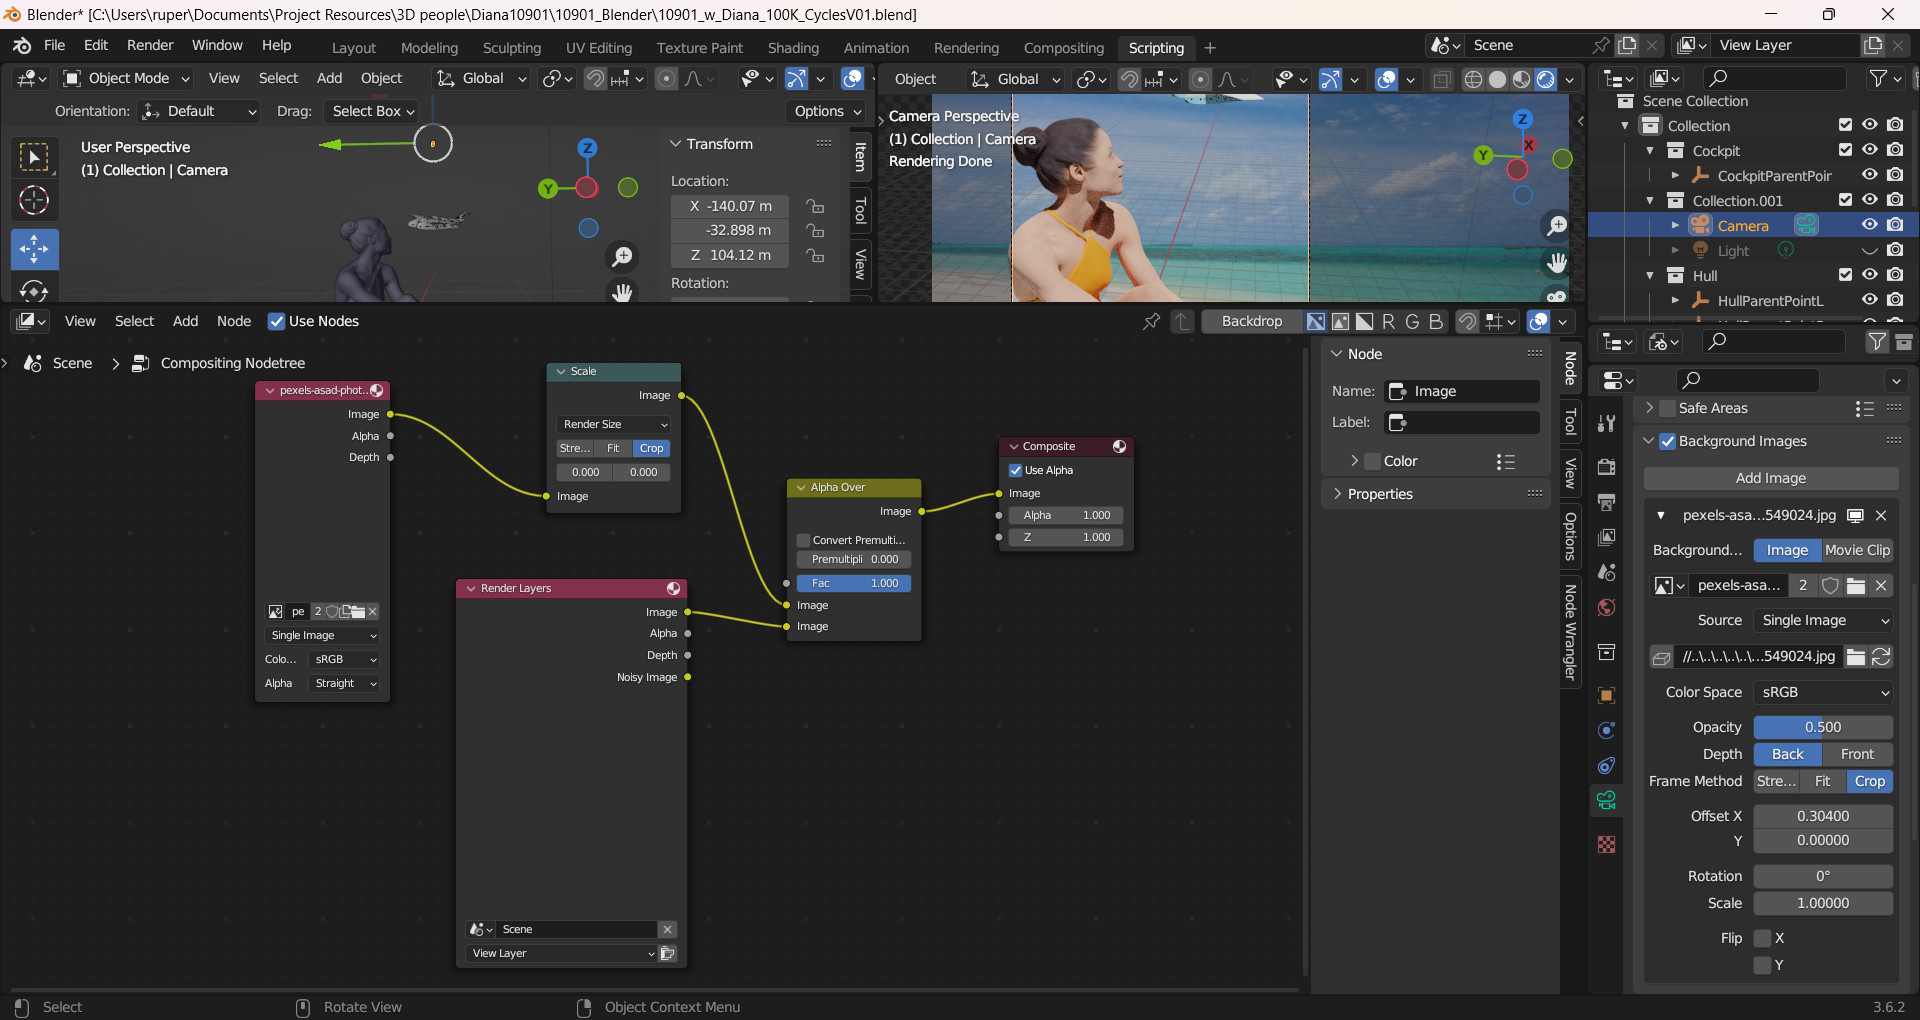
I handed over my cash and started to create the scene. I tried to use an HDRI as a background, but nothing looked right. I could not get everything where I needed it to be. So I changed tack and used an image for a background. The image was from that great resource Pexels but using it turned out to be another challenge. There are lots of great resources out there on the internet so I won't give the detail here - but basically you have to tell the camera you want to use a background image, and tell it where it is. Then you have to use some nodes in the compositor - something I'd never tried before. The image below will give you a clue.
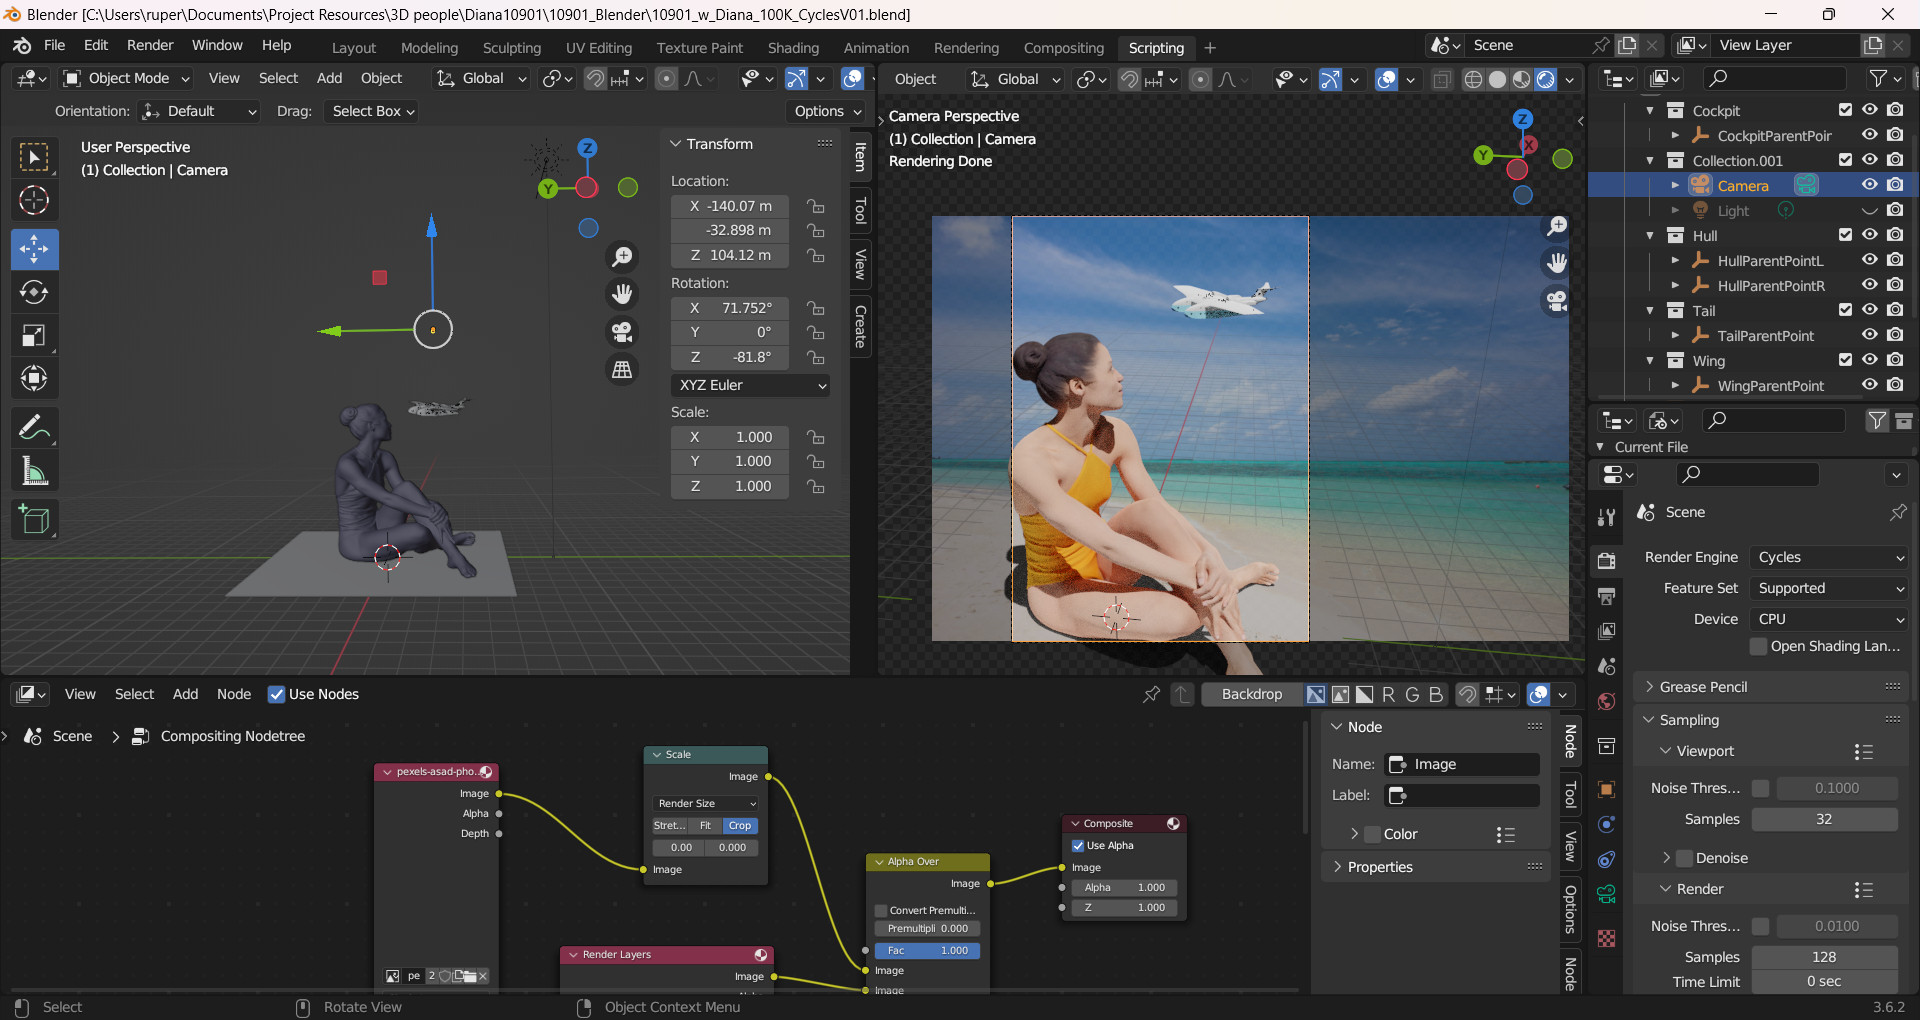
Once I had mastered that trick, the job was the usual struggle with cameras and lights. I wanted the usual large render. It took three goes - each attempt was several hours long. Makes me think I really do need a bigger PC. This was the way I set up Blender to do the work.
Once I had the render I did some processing to saturate the colours a little and add a bit of 'vibrance'. I put it into my graphics software and started to create the poster. I wanted to keep it simple - with a minimal amout of text. There are a million things you can do at this stage. For the headline text I picked out the colour of Diana's swimsuit. I thought that was a good contrast against the blue sky. It looked flat - so I tweaked it just a bit with a drop shadow. That made a big difference.

And finally, here it is. Hello Diana!