MONDIALE
IN BLENDER
Building the aircraft at Cyber-Toulouse.

Blueprints
You can use the zip file of blueprints below as reference images in Blender. Reference images act as guides to help you build your models.

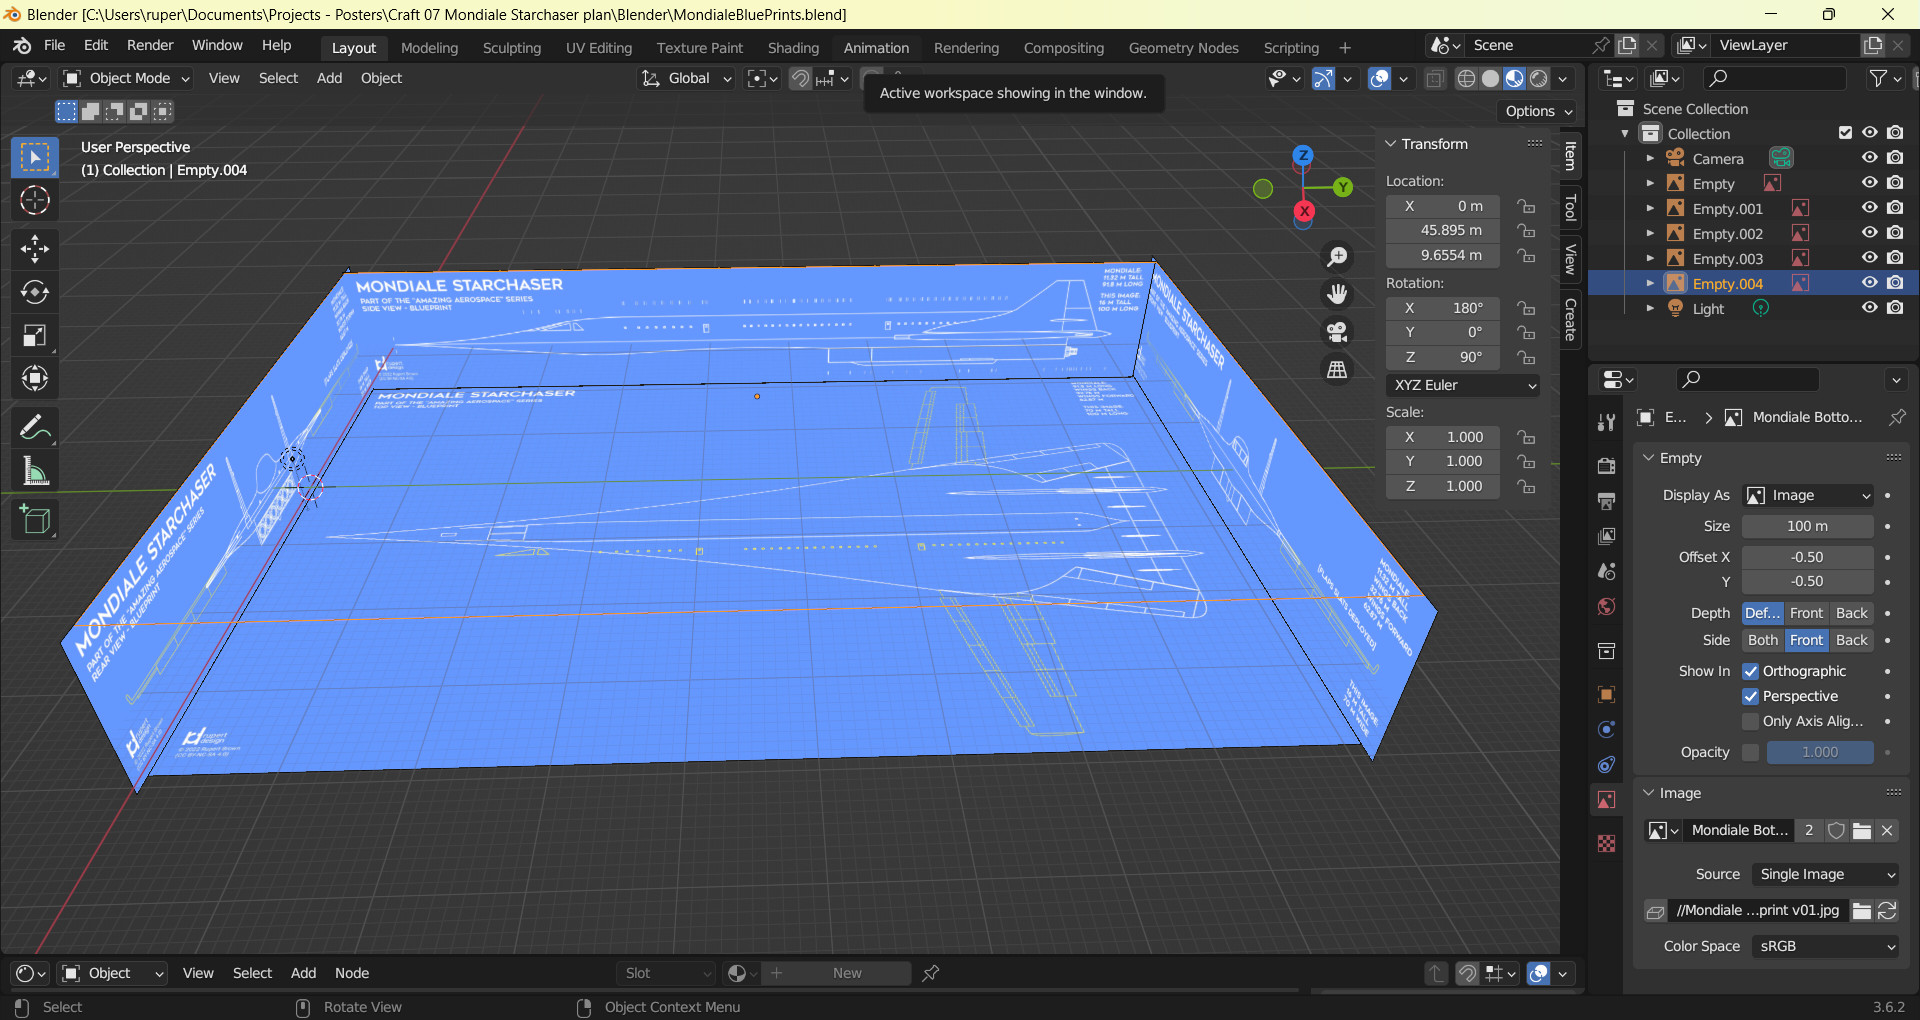
Preparing the shop floor
Mondiale - my vision of hypersonic airliner built in the 1970s. A mach 5 jet that cruises at an altitude of 20 km, and travels faster than the Earth rotates so you can re-live the sunset you just watched in a new dawn, with Champagne of course. The 1970s was a time when we could go to the Moon, and fly from London to New York in a few hours on Concorde. It's strange to think that for decades those capabilities were lost to us. Only now are we building the machines that might be capable of repeating those achievements. In a tribute to Concorde, that most beautiful of aeroplanes, Mondiale will be built at Cyber-Toulouse (with a respectful nod to Filton of course).
As usual I start the process by setting up my Mondiale blueprints.
Blended wing
Mondiale is a blended wing design - there is no real demarcation between the body and the wings - except when we get to the swing wings. The shape transitions from a small circle at the nose to quite a flat structure with sharp wing edges. I could have created a geometry and then shrunk and stretched it as I moved up and down the fuselage. I didn't like that idea. It's obviously not how they build real aeroplanes, and I suspected I would run into trouble with that approach. Instead I developed a strategy that added and removed geometry to build the model. As the Mondiale wing got wider, that width was created using new geometry.
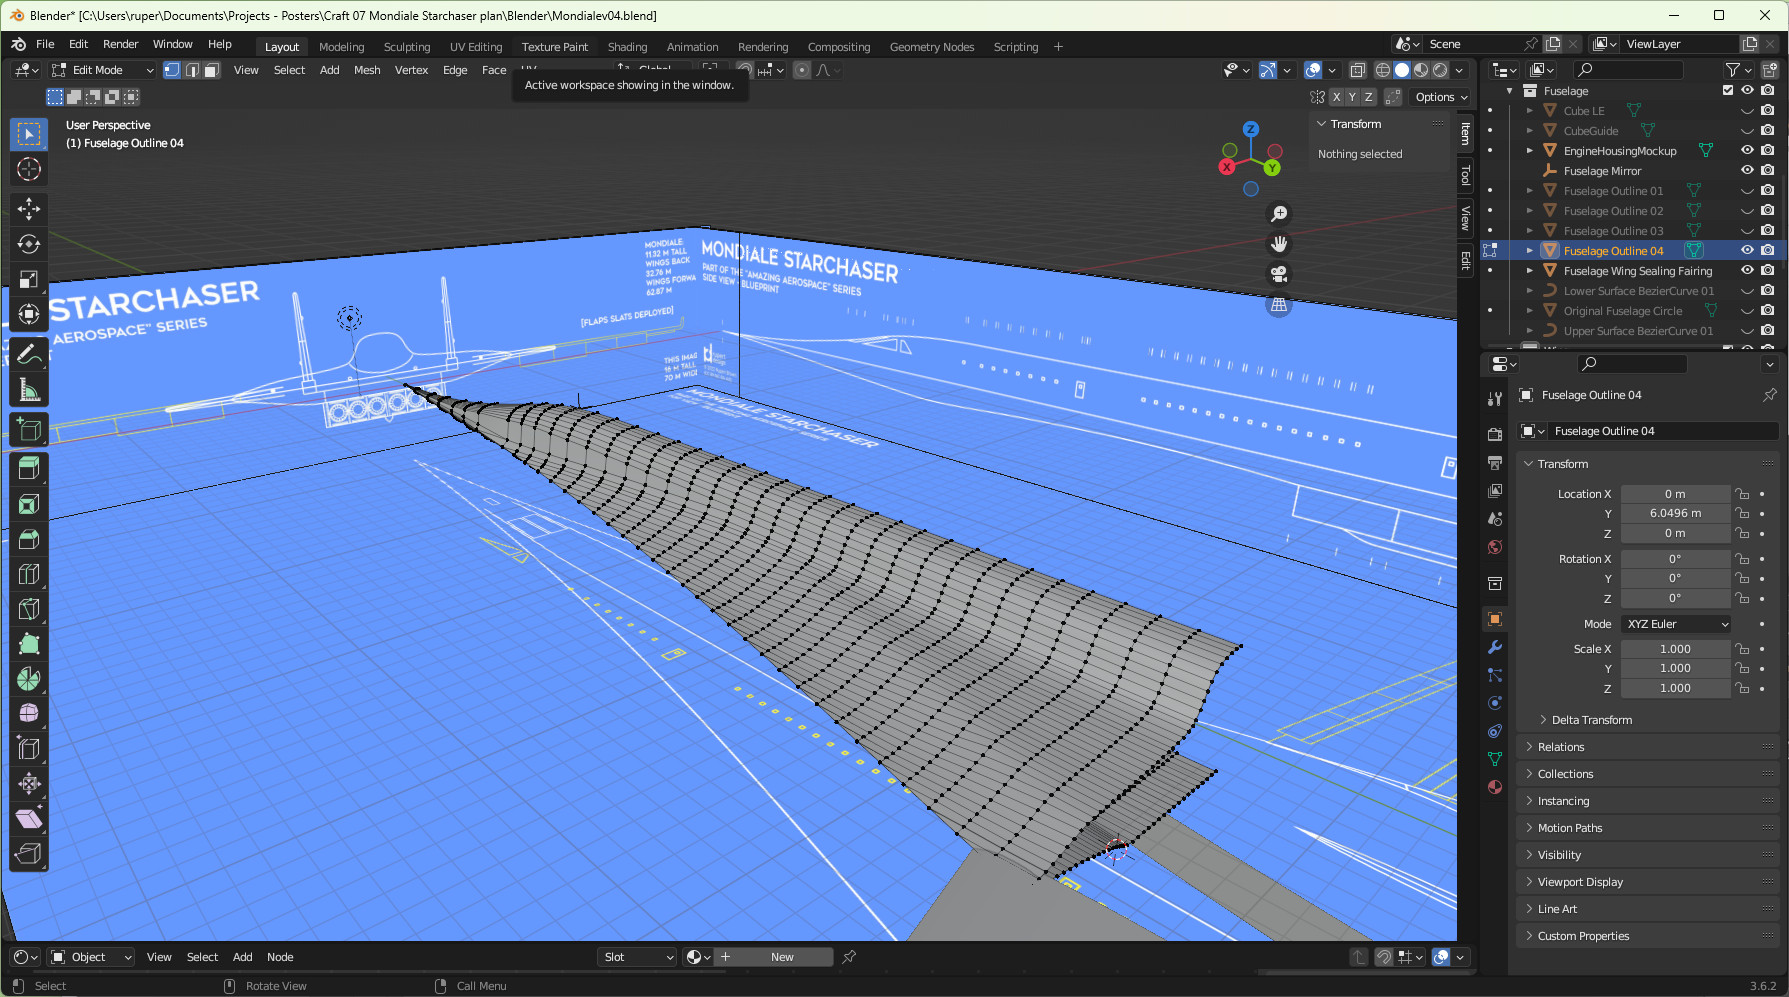
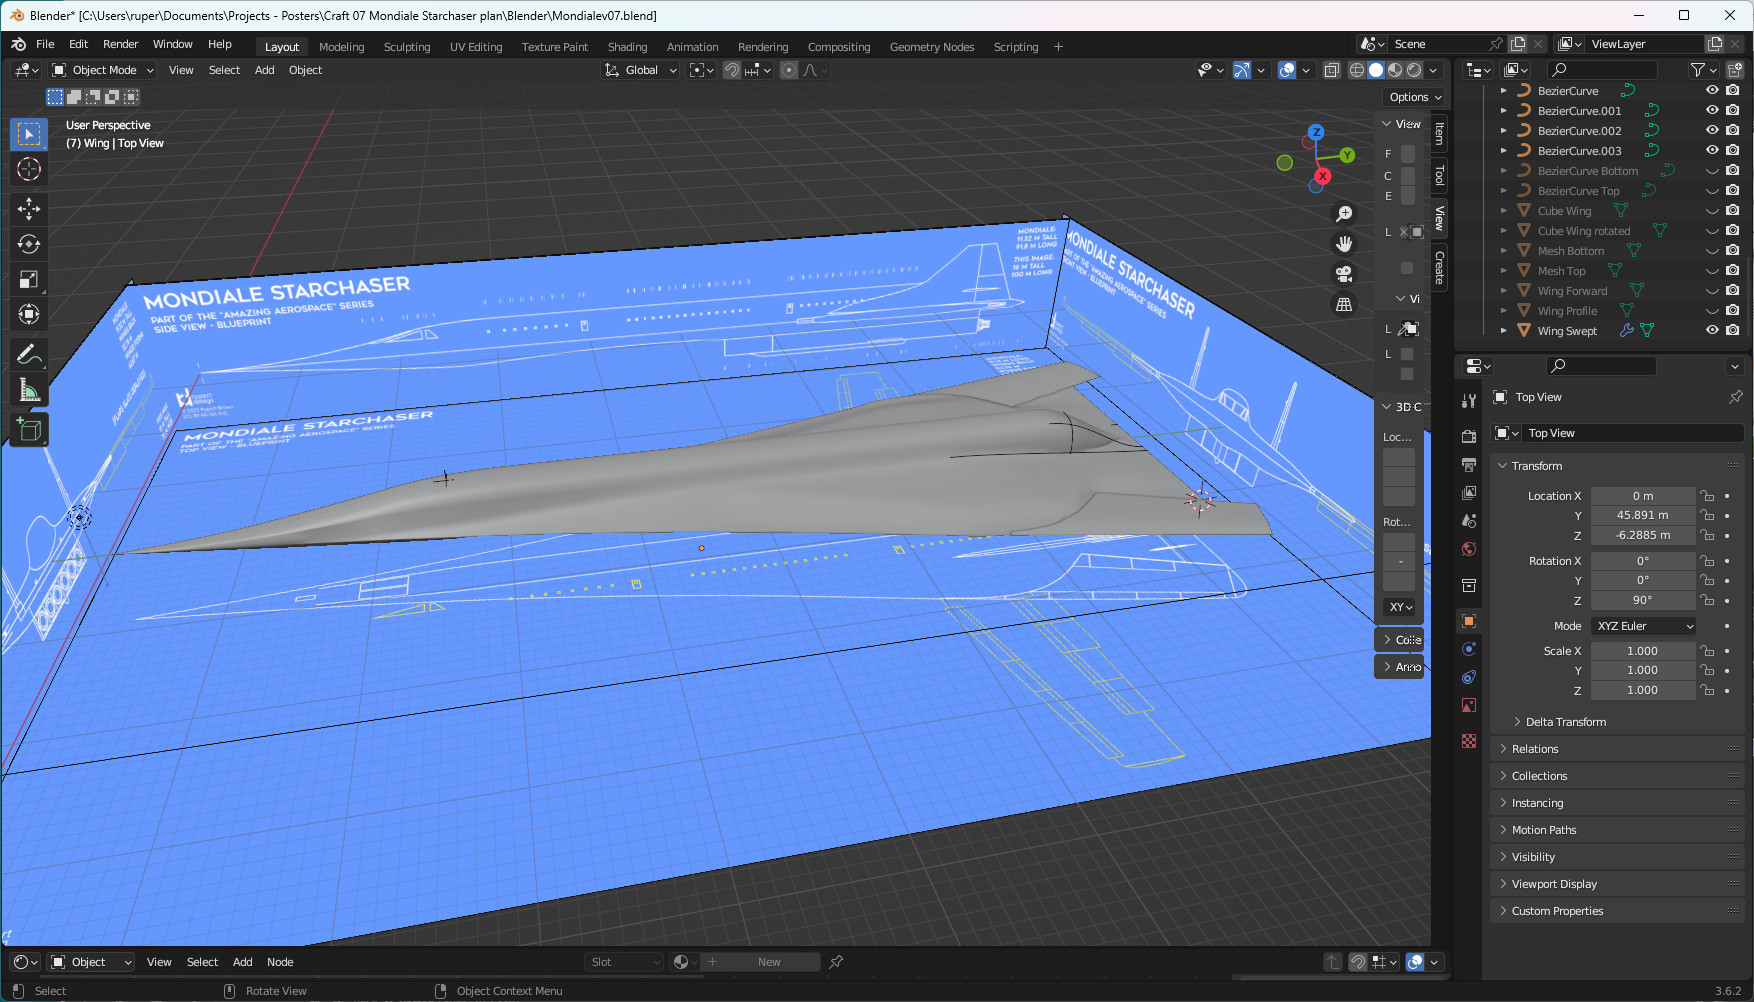
Getting a good start was important. I picked a spot in the middle and created a first profile.
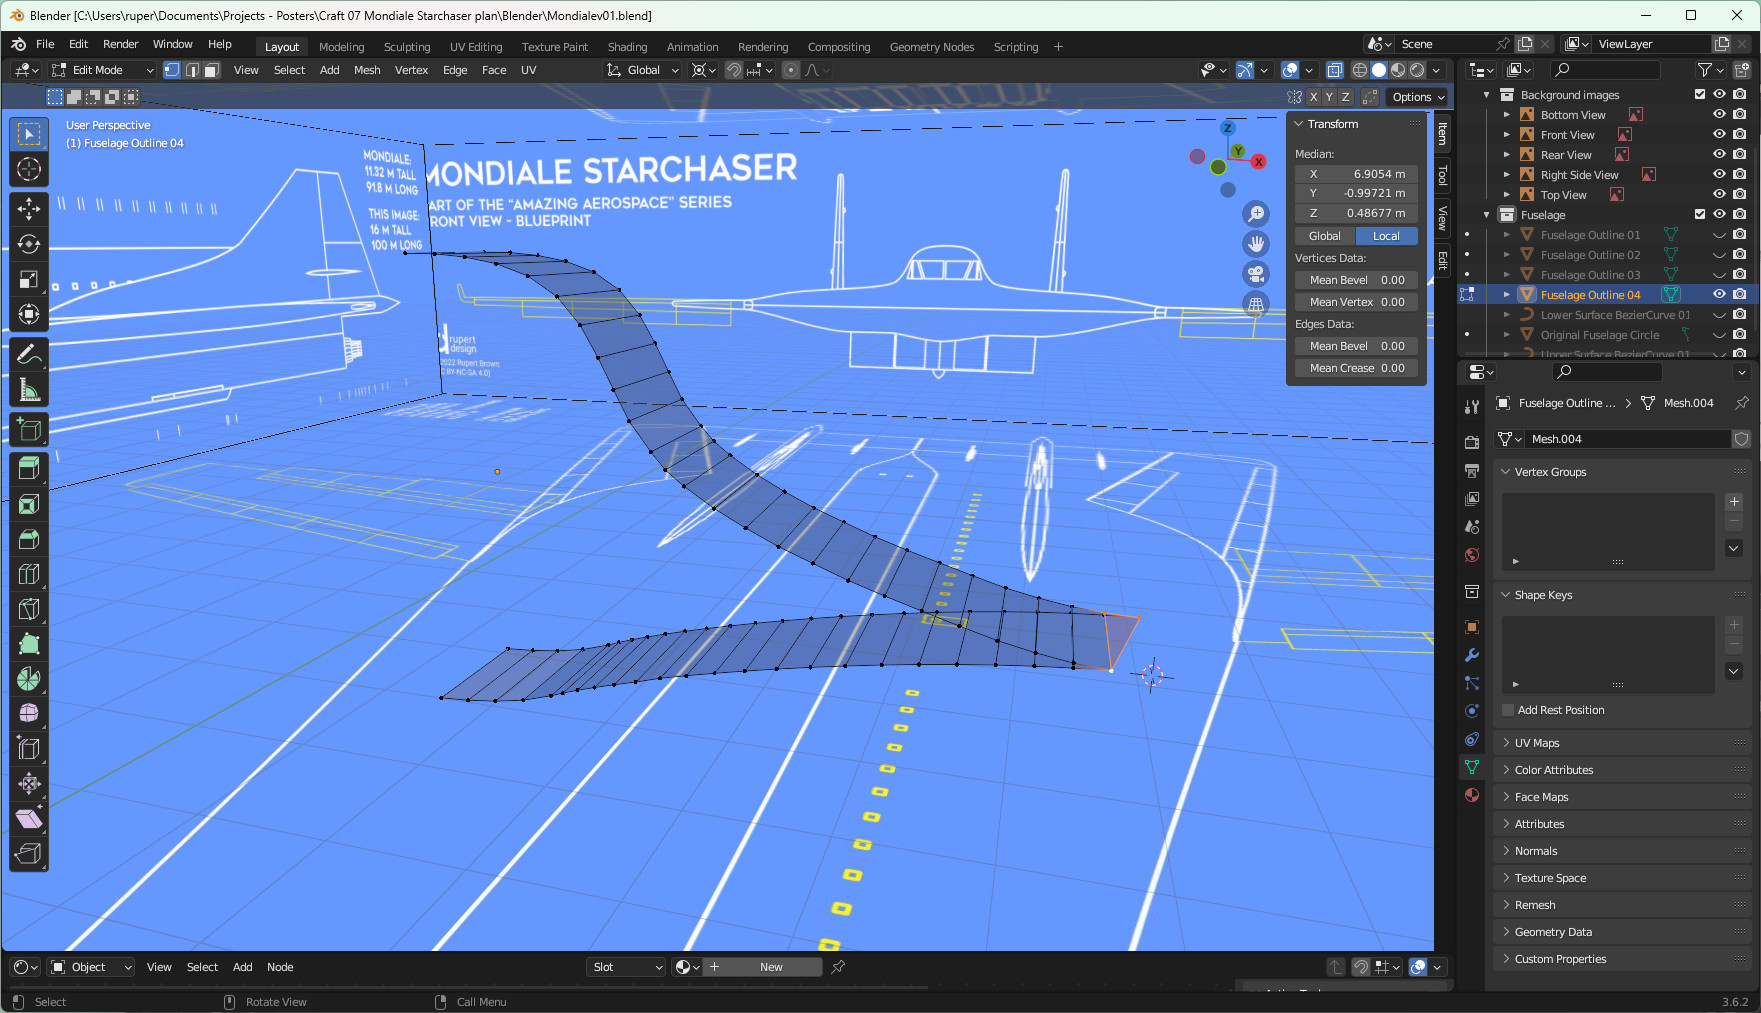
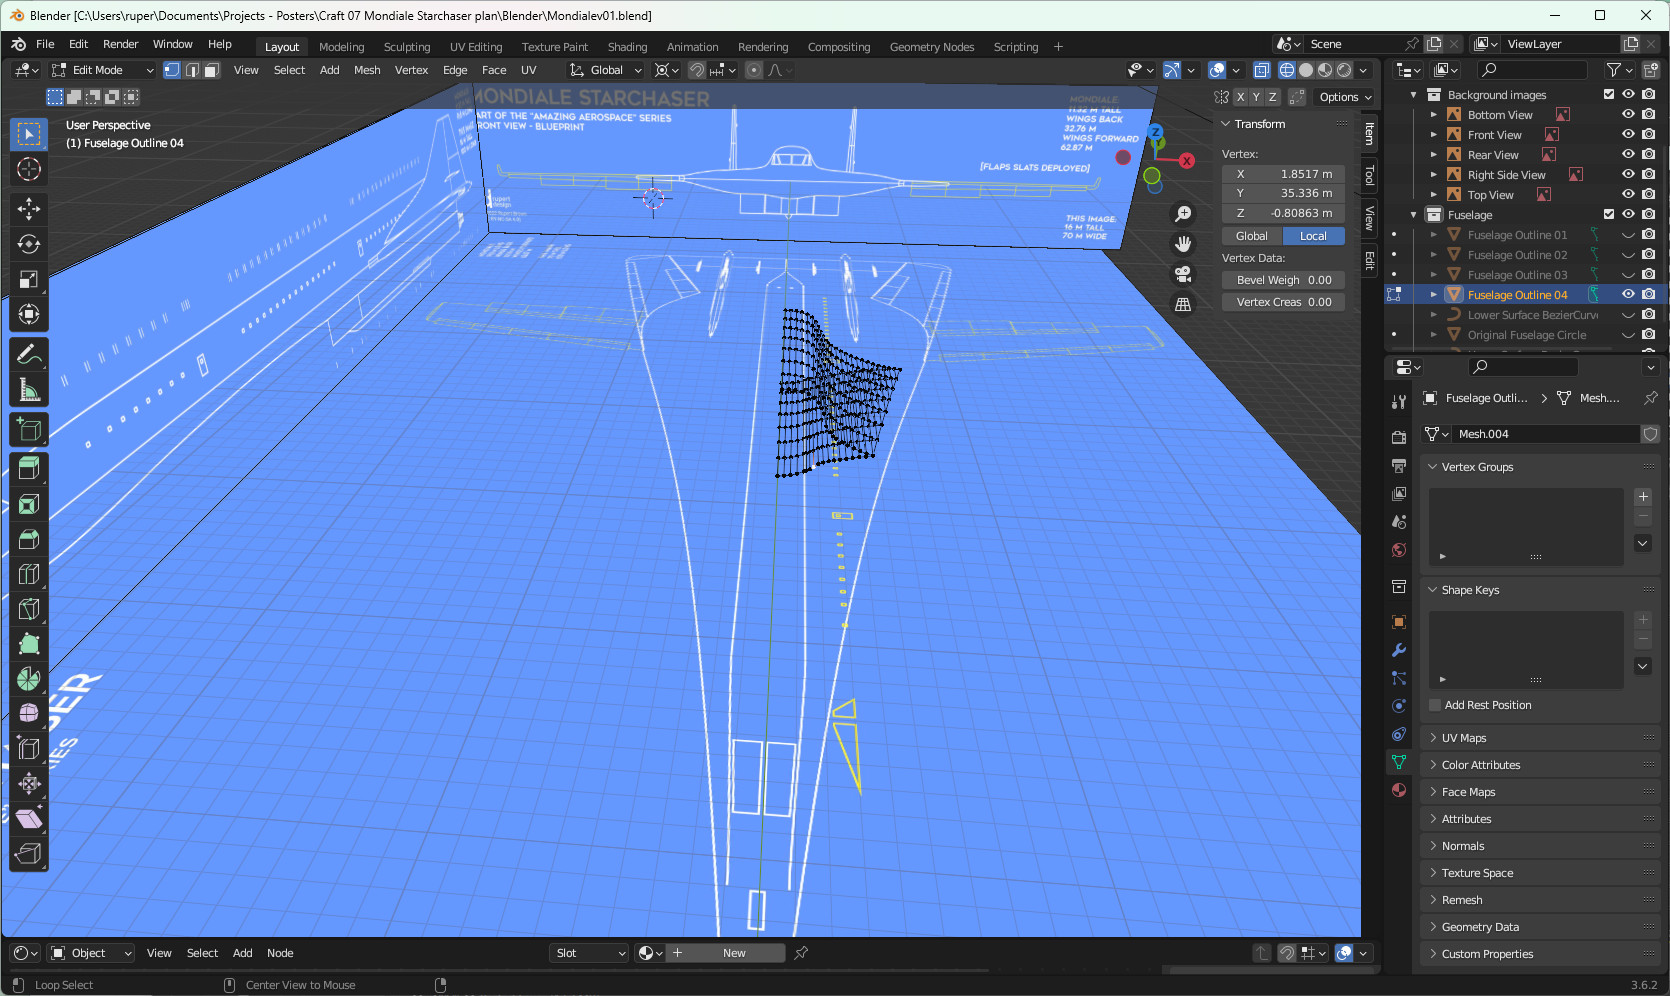
In this image you can see how the geometry is used to build out the width of the blended wing. That was quite a complicated process - the wing was getting wider but at the same time fatter. I used bezier curves as guides.
The wing edge disappears into Mondiale's super long nose. I gave Mondiale quite a distinctive chin. The theory is that this creates a standing wave of compressed air into the engines.
Real aeroplanes need lots of space for fuel. Mondiale has the added challenge of having to house it's swing wing mechanism. So the blended wing has to develop some volume to make sure there is room for everything.
Swing wing
The swing wing is a great idea in theory. It does allow an aircraft to give itself very sleek aerodynamics for high speed flight, and then that all important lift boost for take offs and landings with wings fully forward. But it comes at a significant cost. The mechanism to swing the wings is quite complex, heavy, and adds an element of risk to the operation of the aircraft. When I was involved in the flight testing of the Tornado, I remember an aerodynamics test engineer cursing the test program - everything had to be tested at every swept wing setting. It's noticeable that after the 1970s and 1980s, no design has employed it since. The B1 Lancer is probably the only significant aircraft left in service that has a swing wing.
Still, as a design feature it's very dramatic. It requires you to model a hole in the fuselage. This hole has to accommodate the wing fully forward, and swept right back. In the picture below I've created a rough and ready wing mock-up to allow me to get that wing hole right.
.
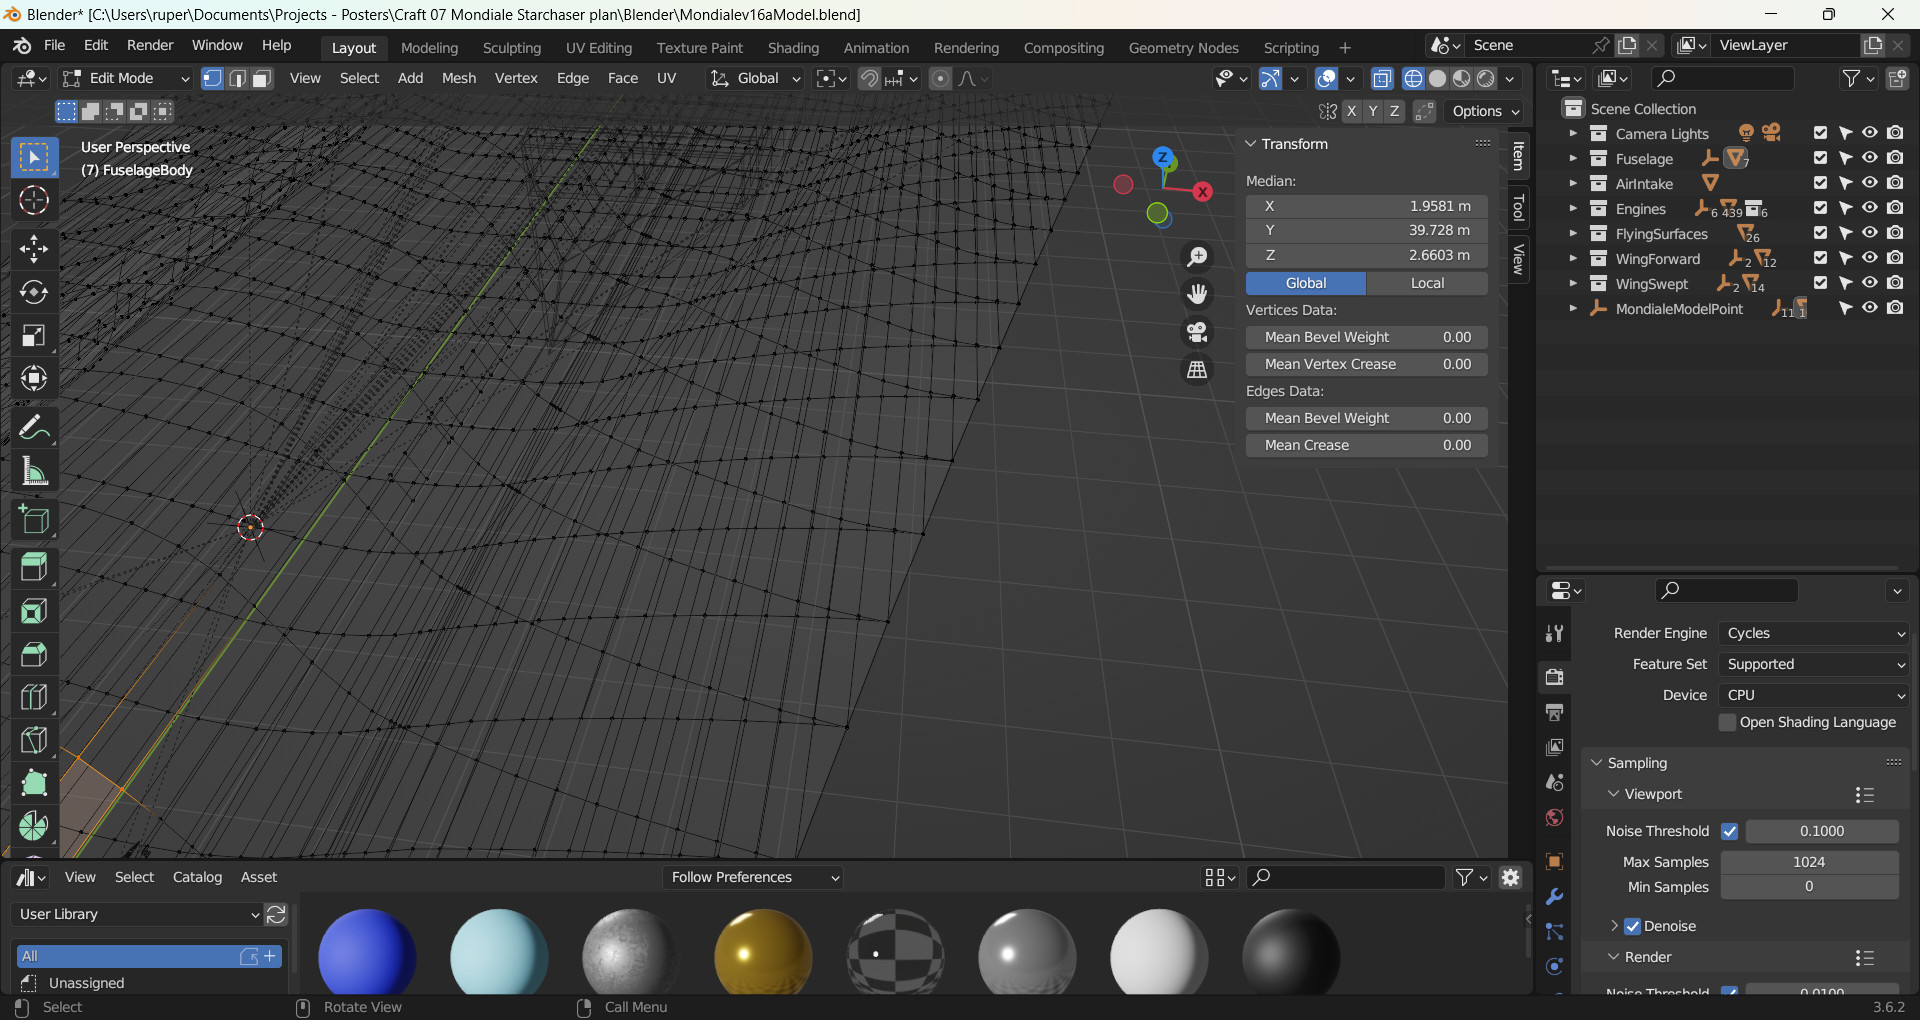
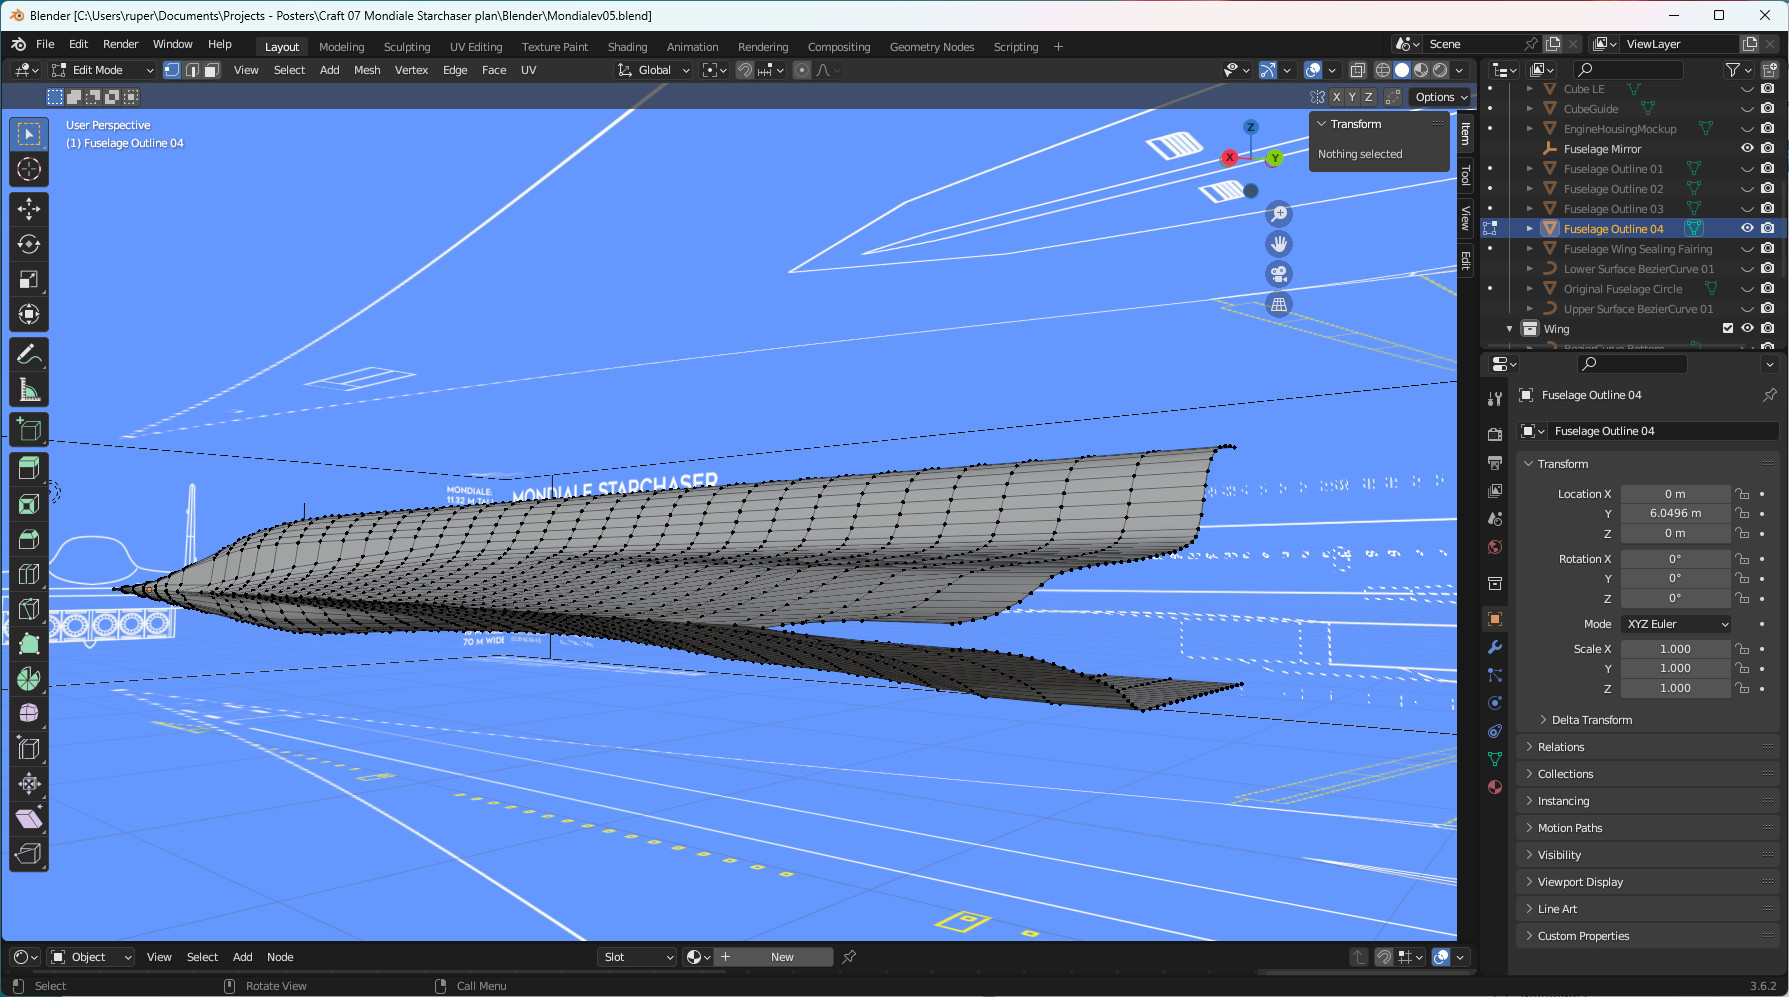
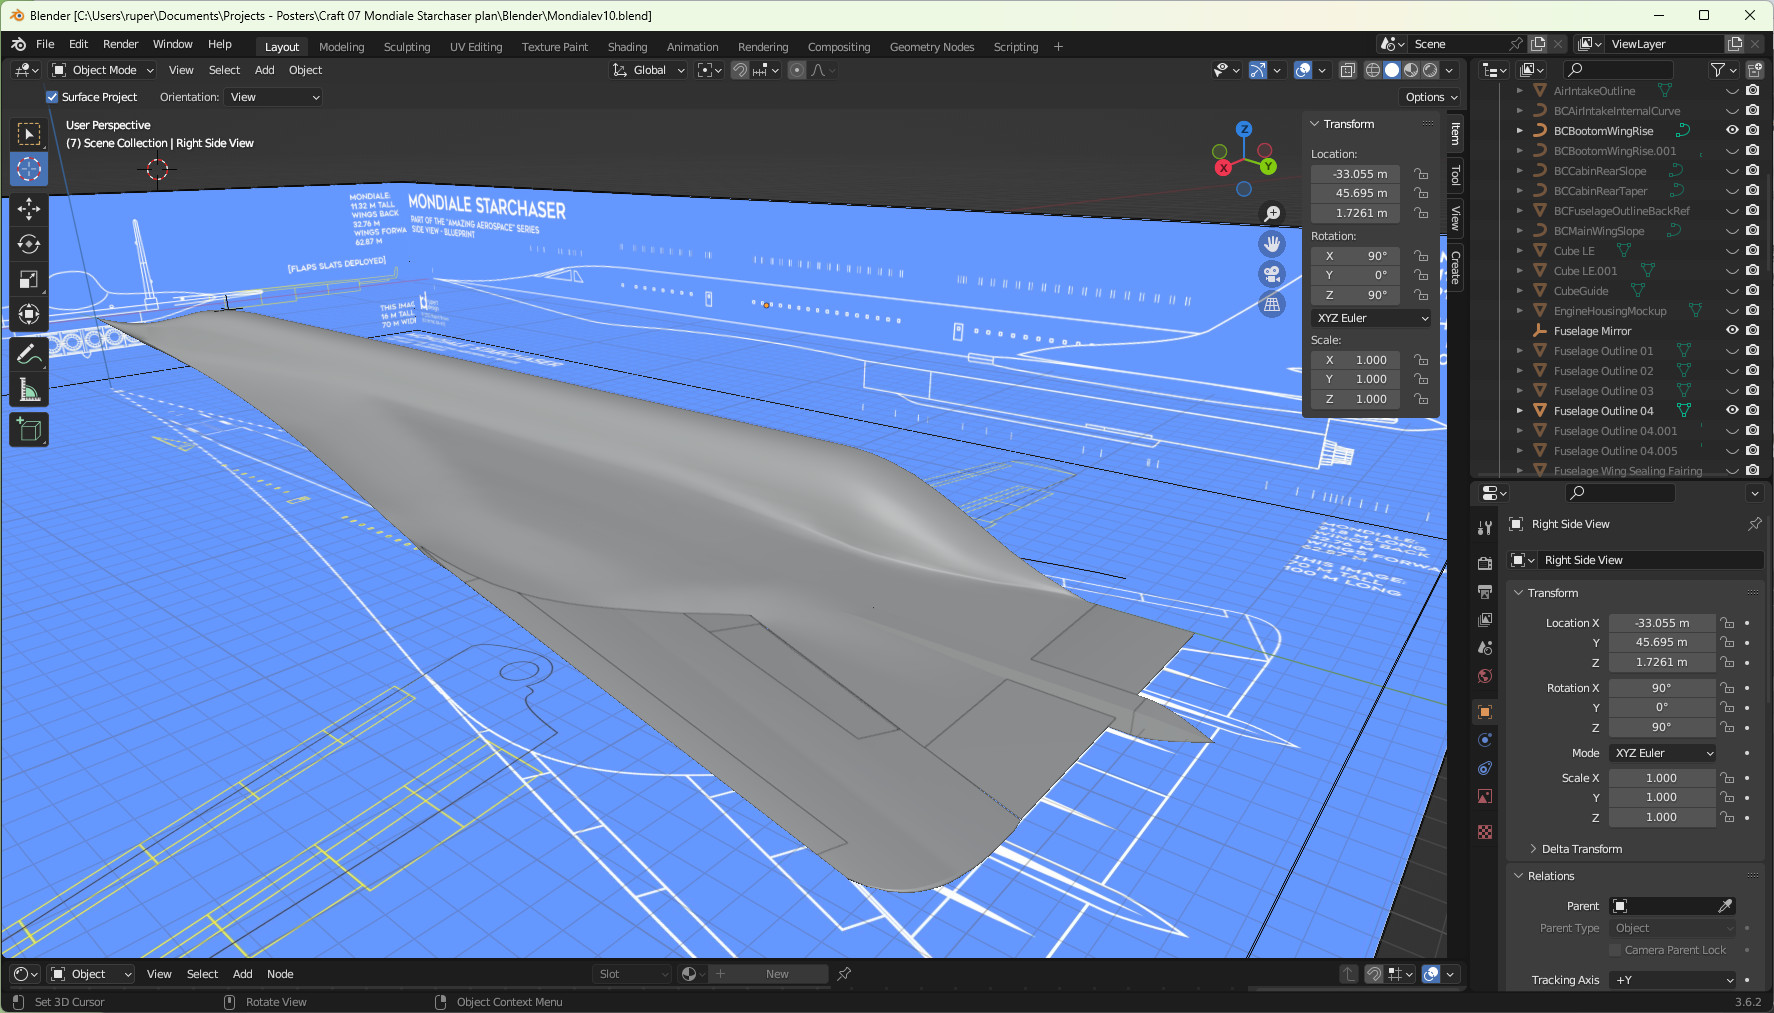
This image shows what I was talking about earlier - that I've added extra geometry to build out the shape rather than stretch a geometry. It also shows the beginning of the hole needed to accommodate the wing.
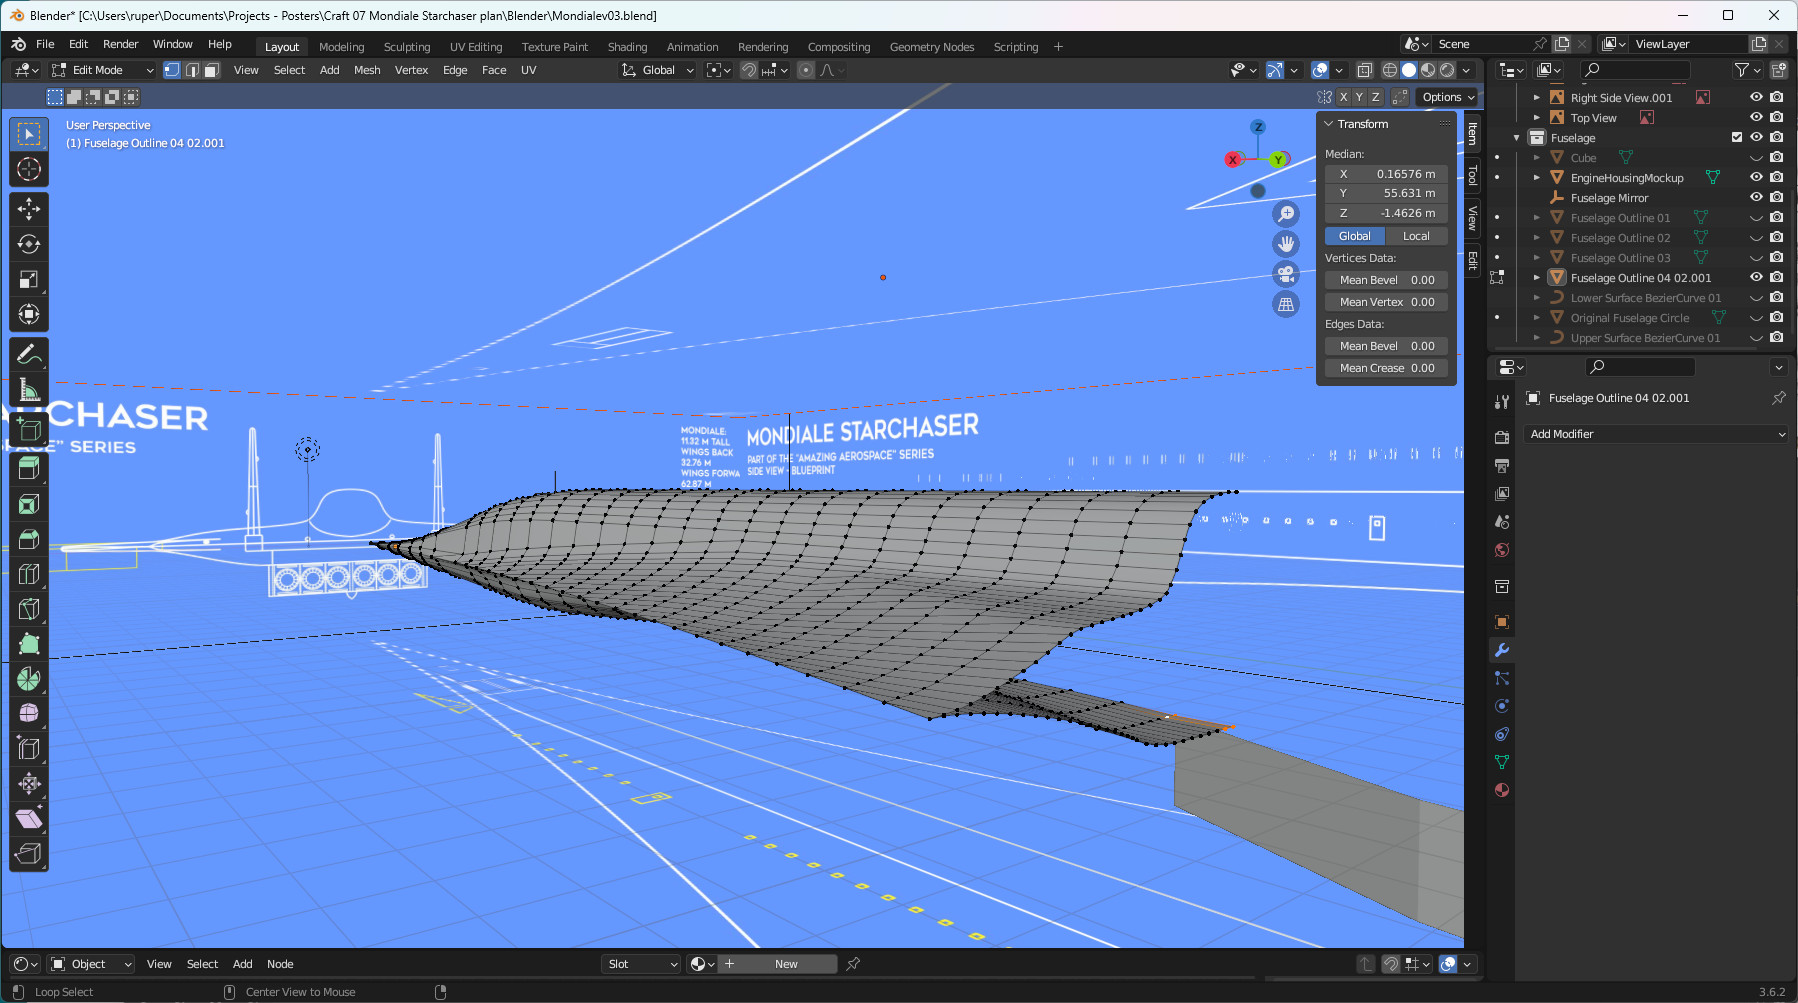
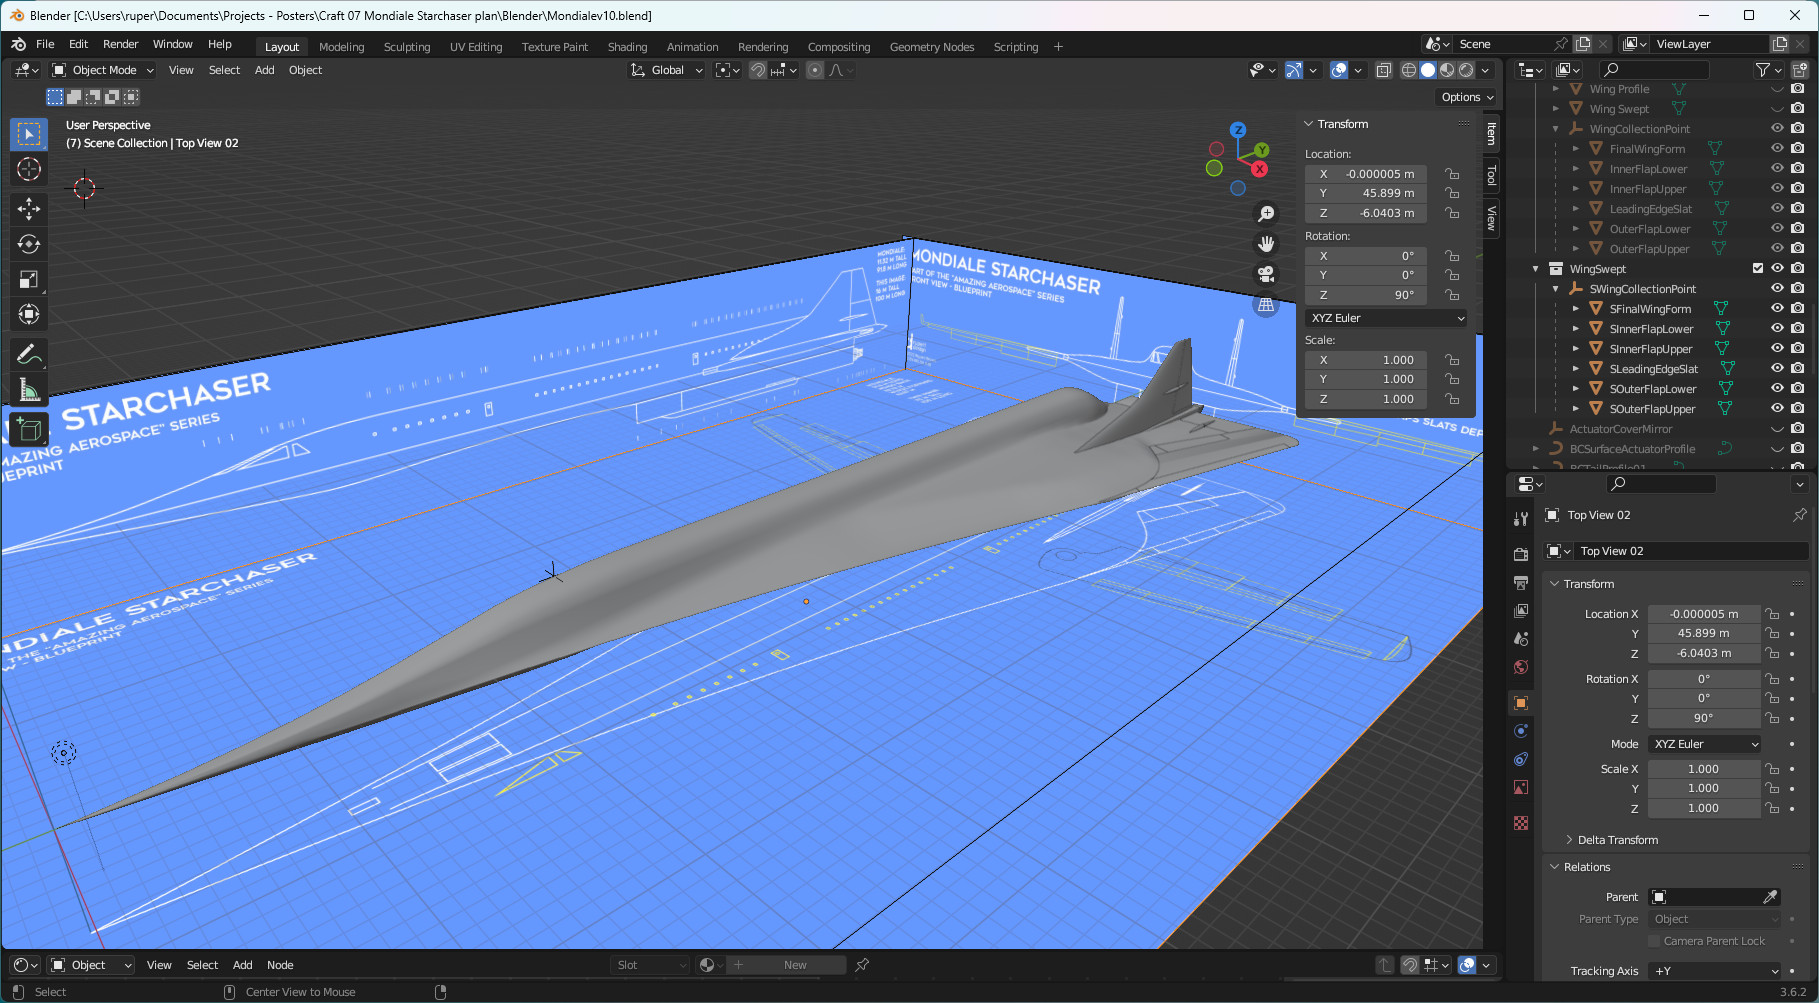
The next two images show how that hole developed and was then resolved by closing back up the geometry of the body.
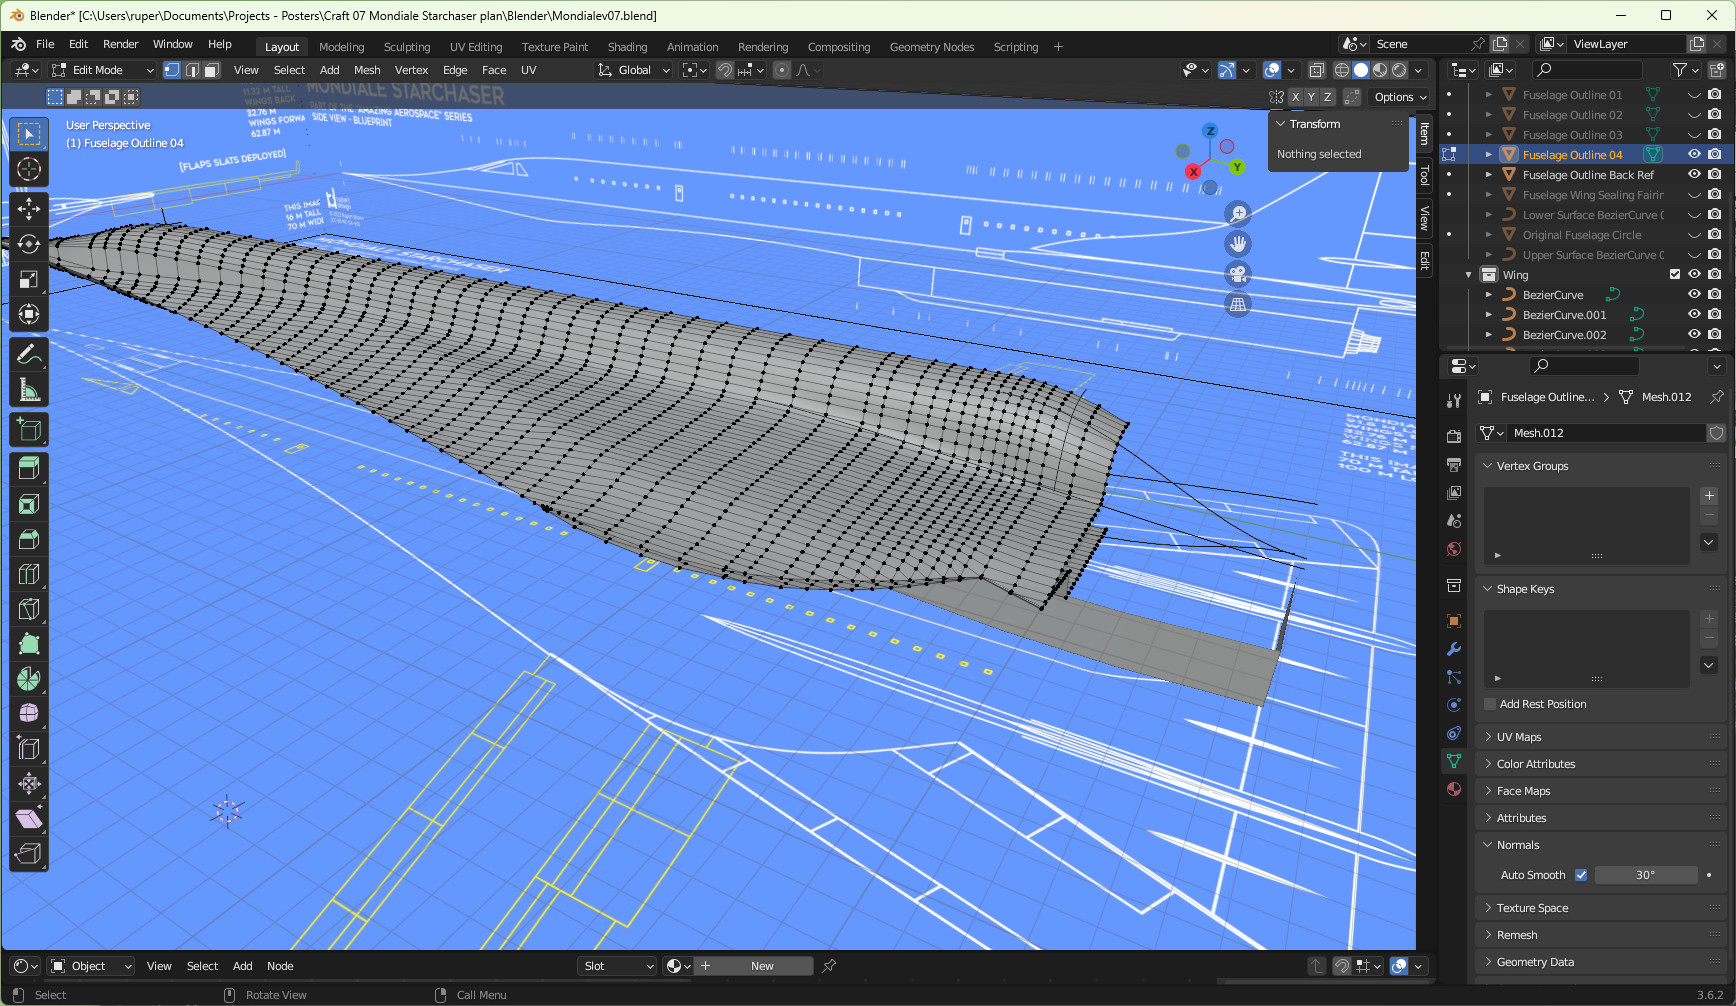
When a wing is fully swept there is a gap in the fuselage at the very front of the wing. You can't have a gap if you're going hypersonic, so Mondiale has a filler that slots into place to create a clean line.
Surfaces
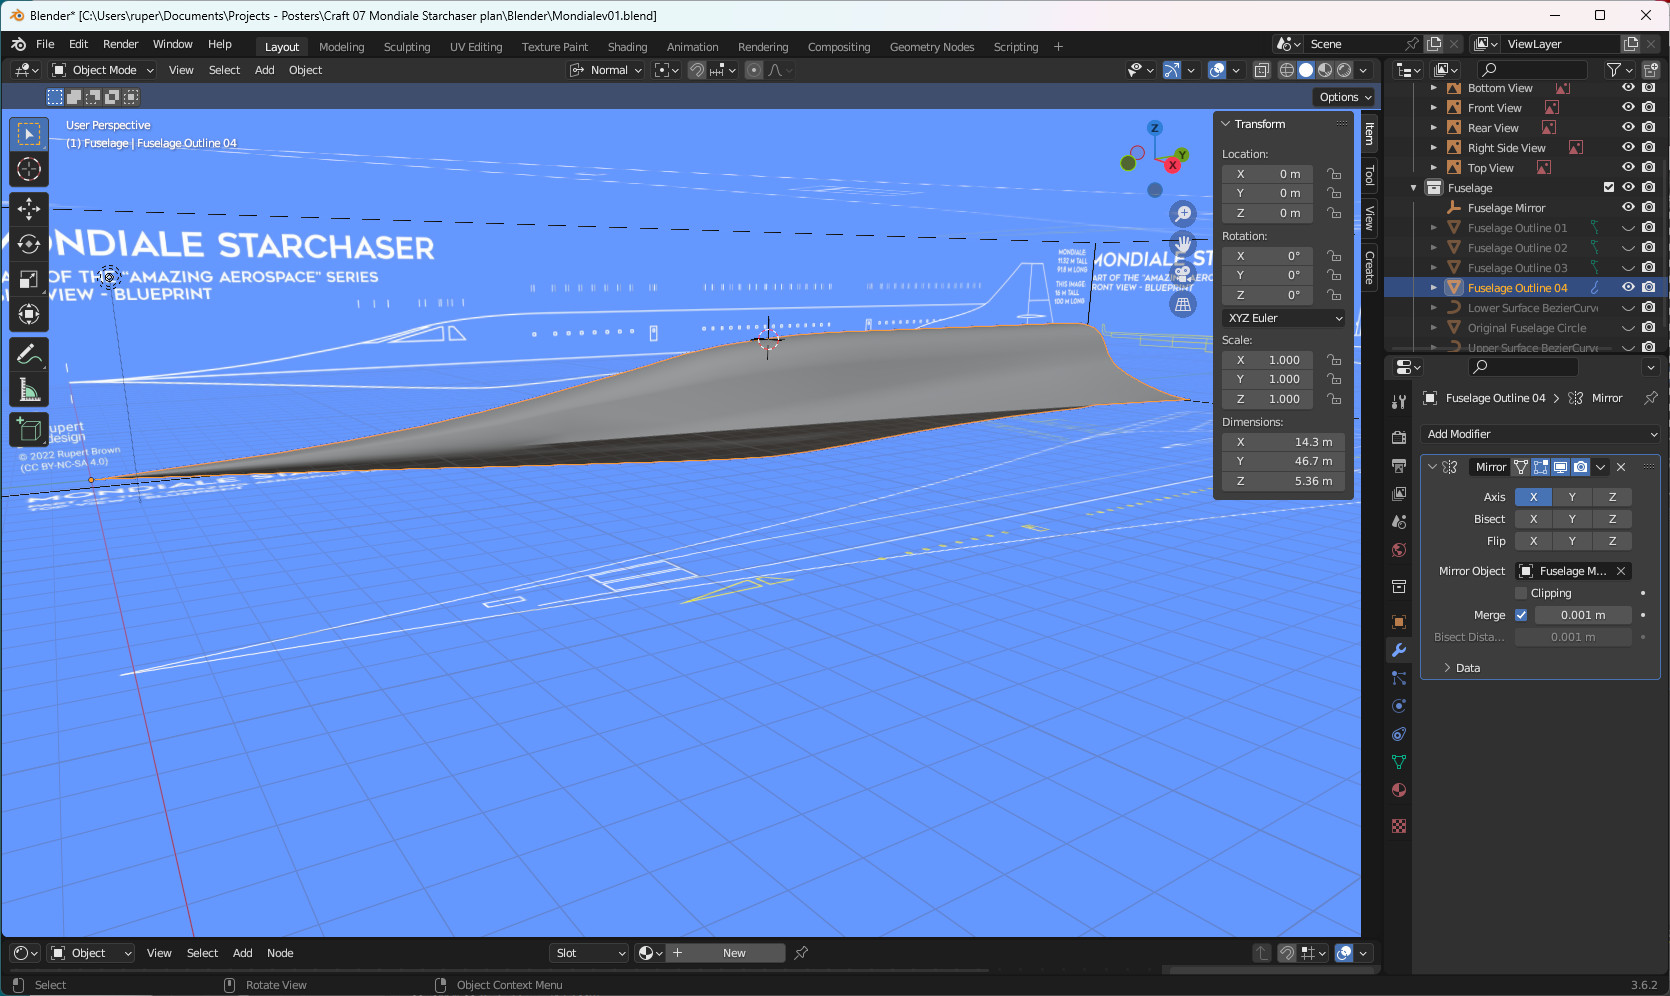
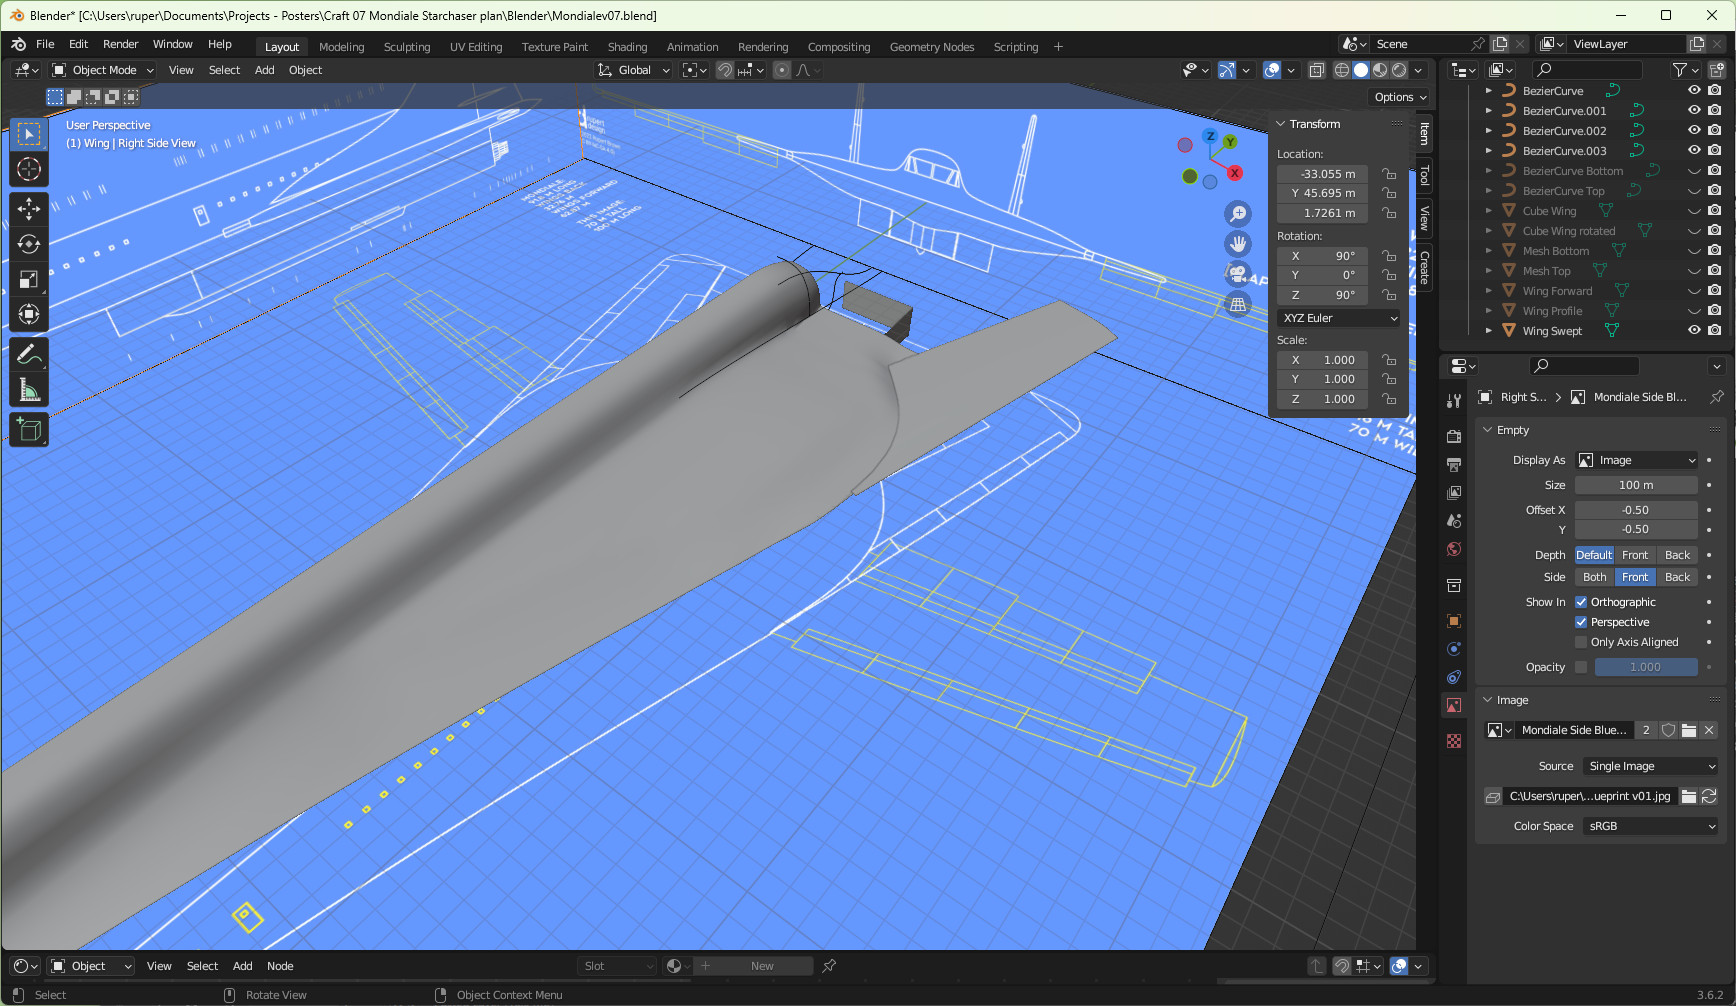
When I went to resolve the back end of Mondiale I realised that my 2D drawing was not quite right. I had to blend the passenger cabin into the wing body in a way that was much gentler than I had originally drawn. I also had to lift the engines so as not to create a flat surface at the rear of the aircraft (see later). So I reverted to bezier curves again to get the look I wanted. You can see them in this image as black lines.
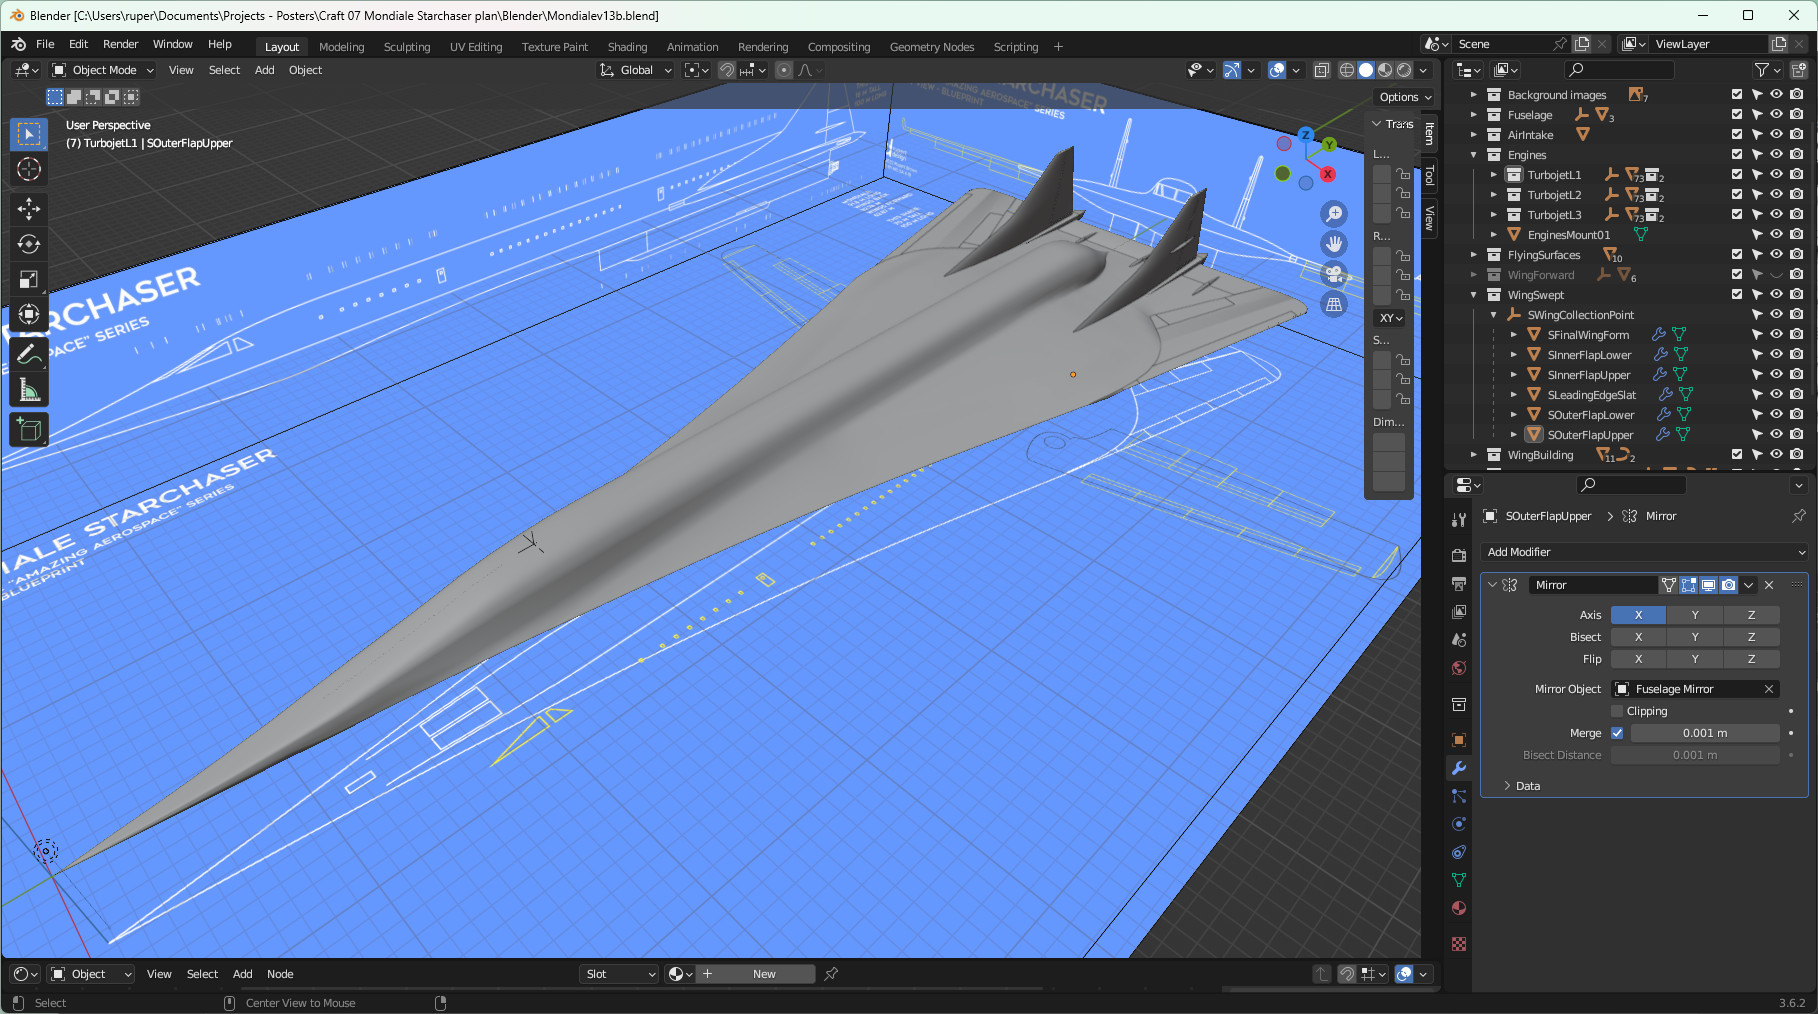
Then on to the flaps and slats in the wings, and those tailerons. I did a quick mirror modifier check to see how it would look when whole - it was looking OK. I've talked about creating flying surfaces when building Tarkine so won't go into detail again. A swing wing only has slats and flaps. Ailerons wouldn't work when the wing is swept back.
Finishing off
Building the rudder and actuators was relatively straightforward.
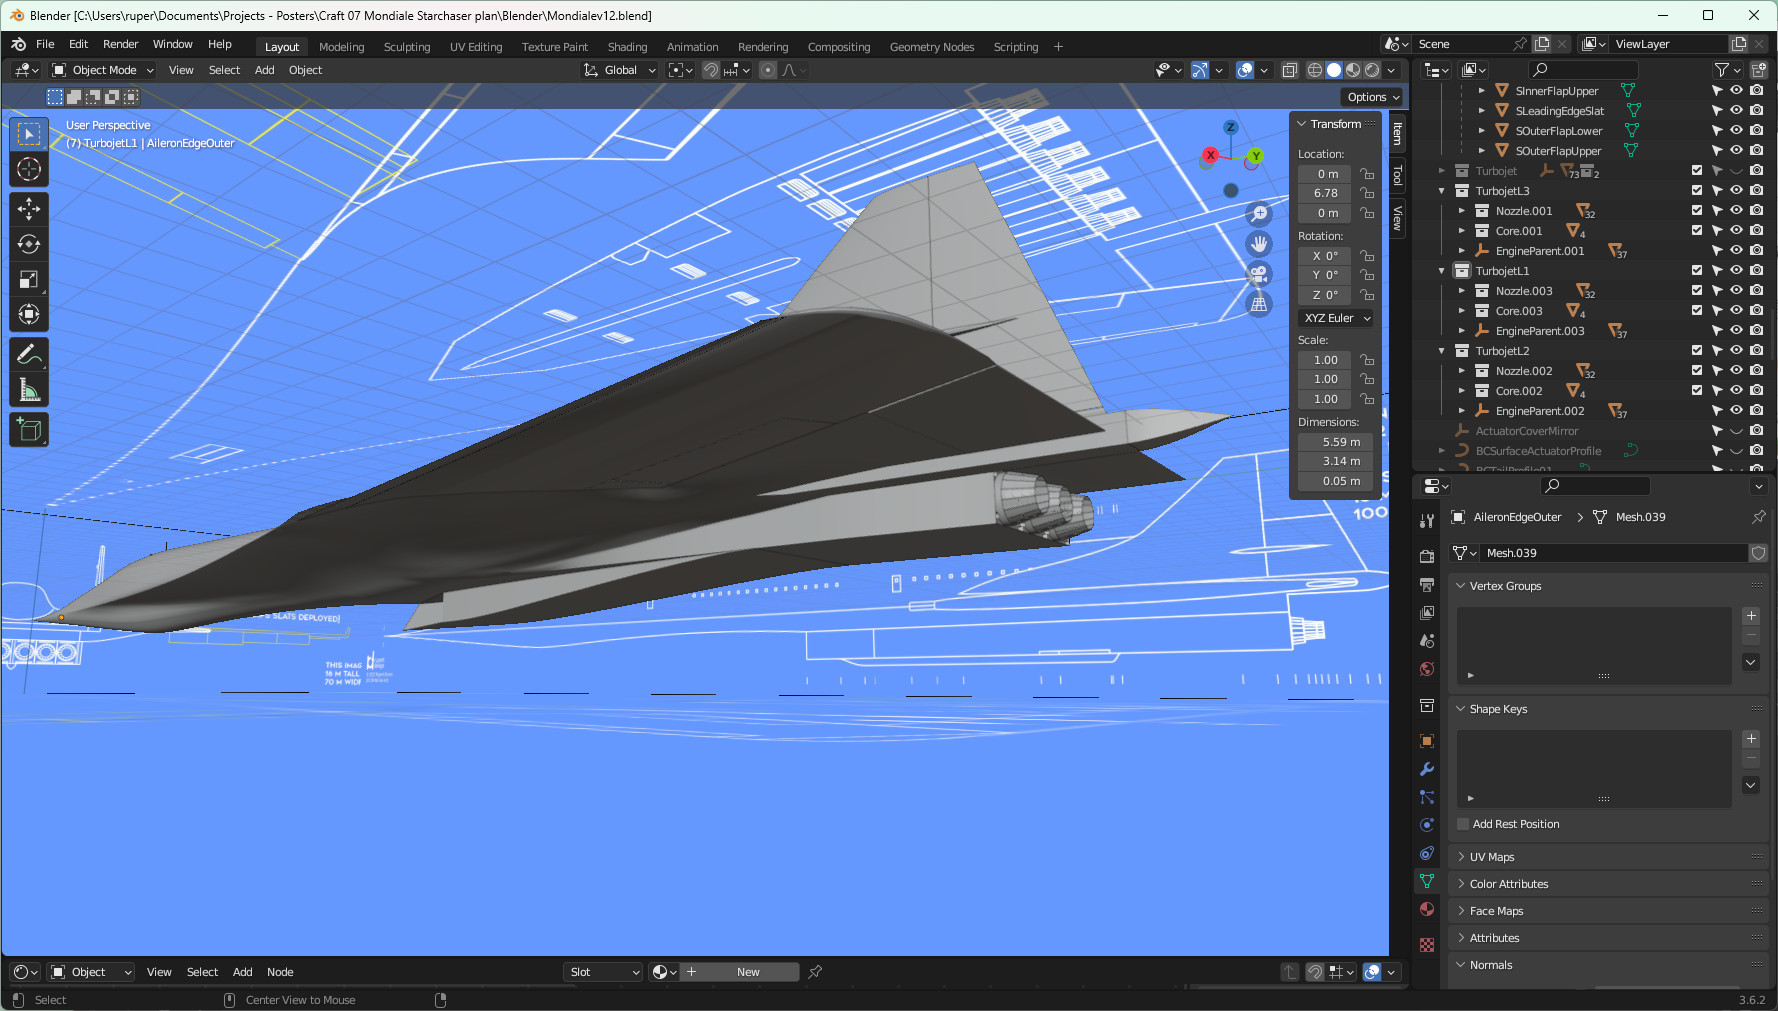
The engines and air intakes are where my 2D drawing proved itself to be completely wrong. I suspected I didn't have it quite right - and I didn't. The original drawing would have meant that there was just a flat slab at the back of the aircraft - aerodynamically hopeless. So I had to move the engines up to fill that space, and then make the air intakes a graceful curve. In the diagram below, compare the blueprint to the model. The model is an improvement.
Then it's a matter of finishing up. I looked all over the fuselage making sure surfaces were as smooth as possible - very intense job. I applied all the mirror modifiers and applied decals. I gave all the geometry parts proper names and organised them into collections. I parented everything to appropriate empties so that I can move things around. I created the two aircraft configurations - and finally applied some materials.

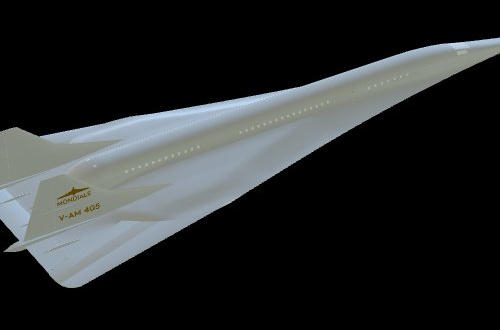
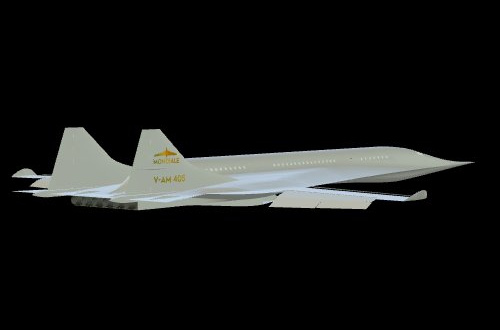
Model viewer
Click on the images below to view the completed 3D model in model-viewer.