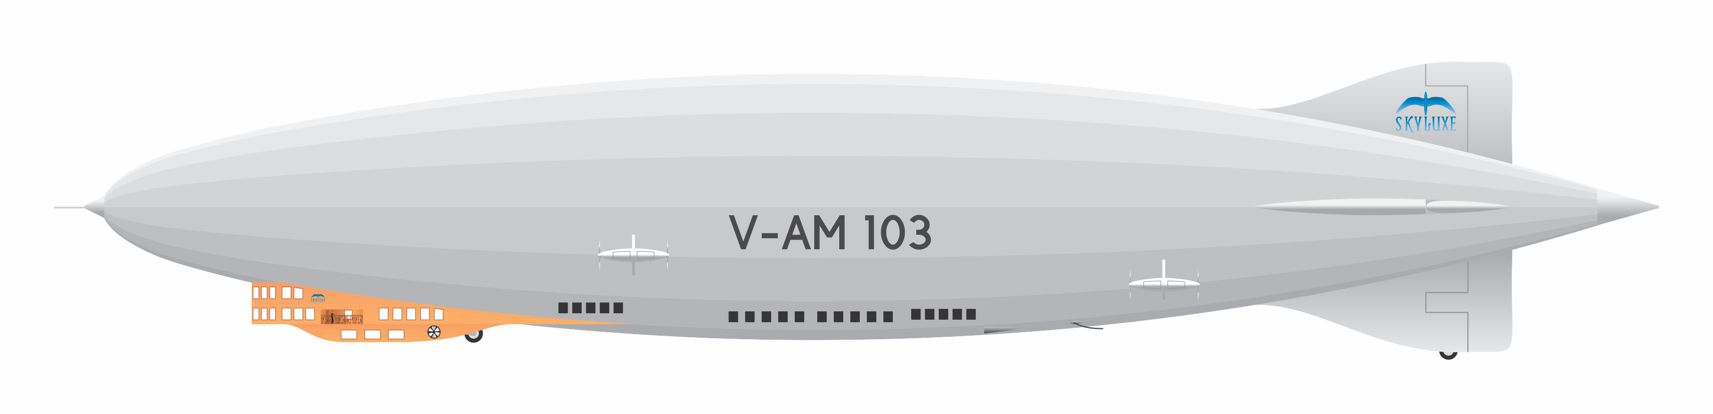
Skyluxe Dreamship
Using the rendered model to make the travel posters.
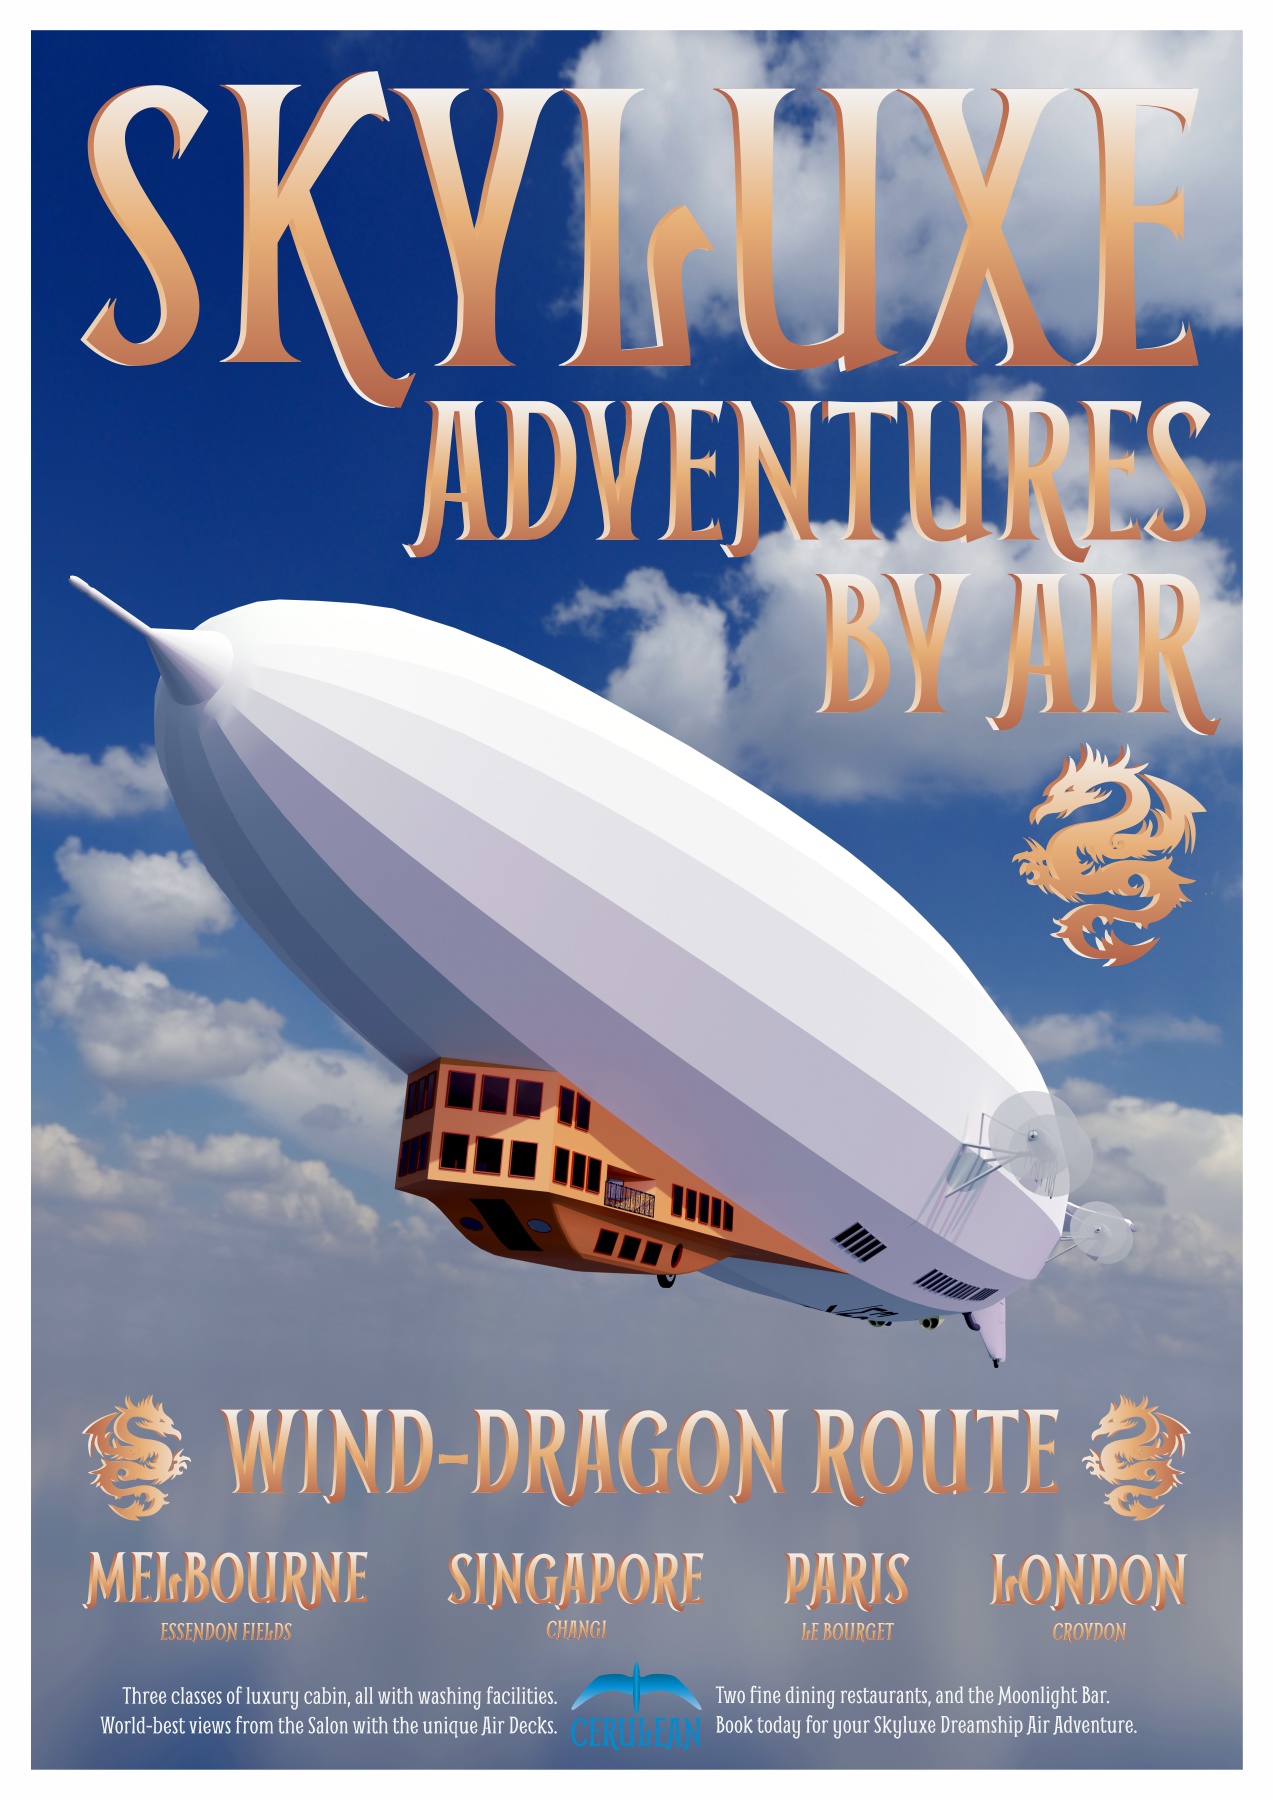
The Skyluxe Dreamship Adventures By Air poster.
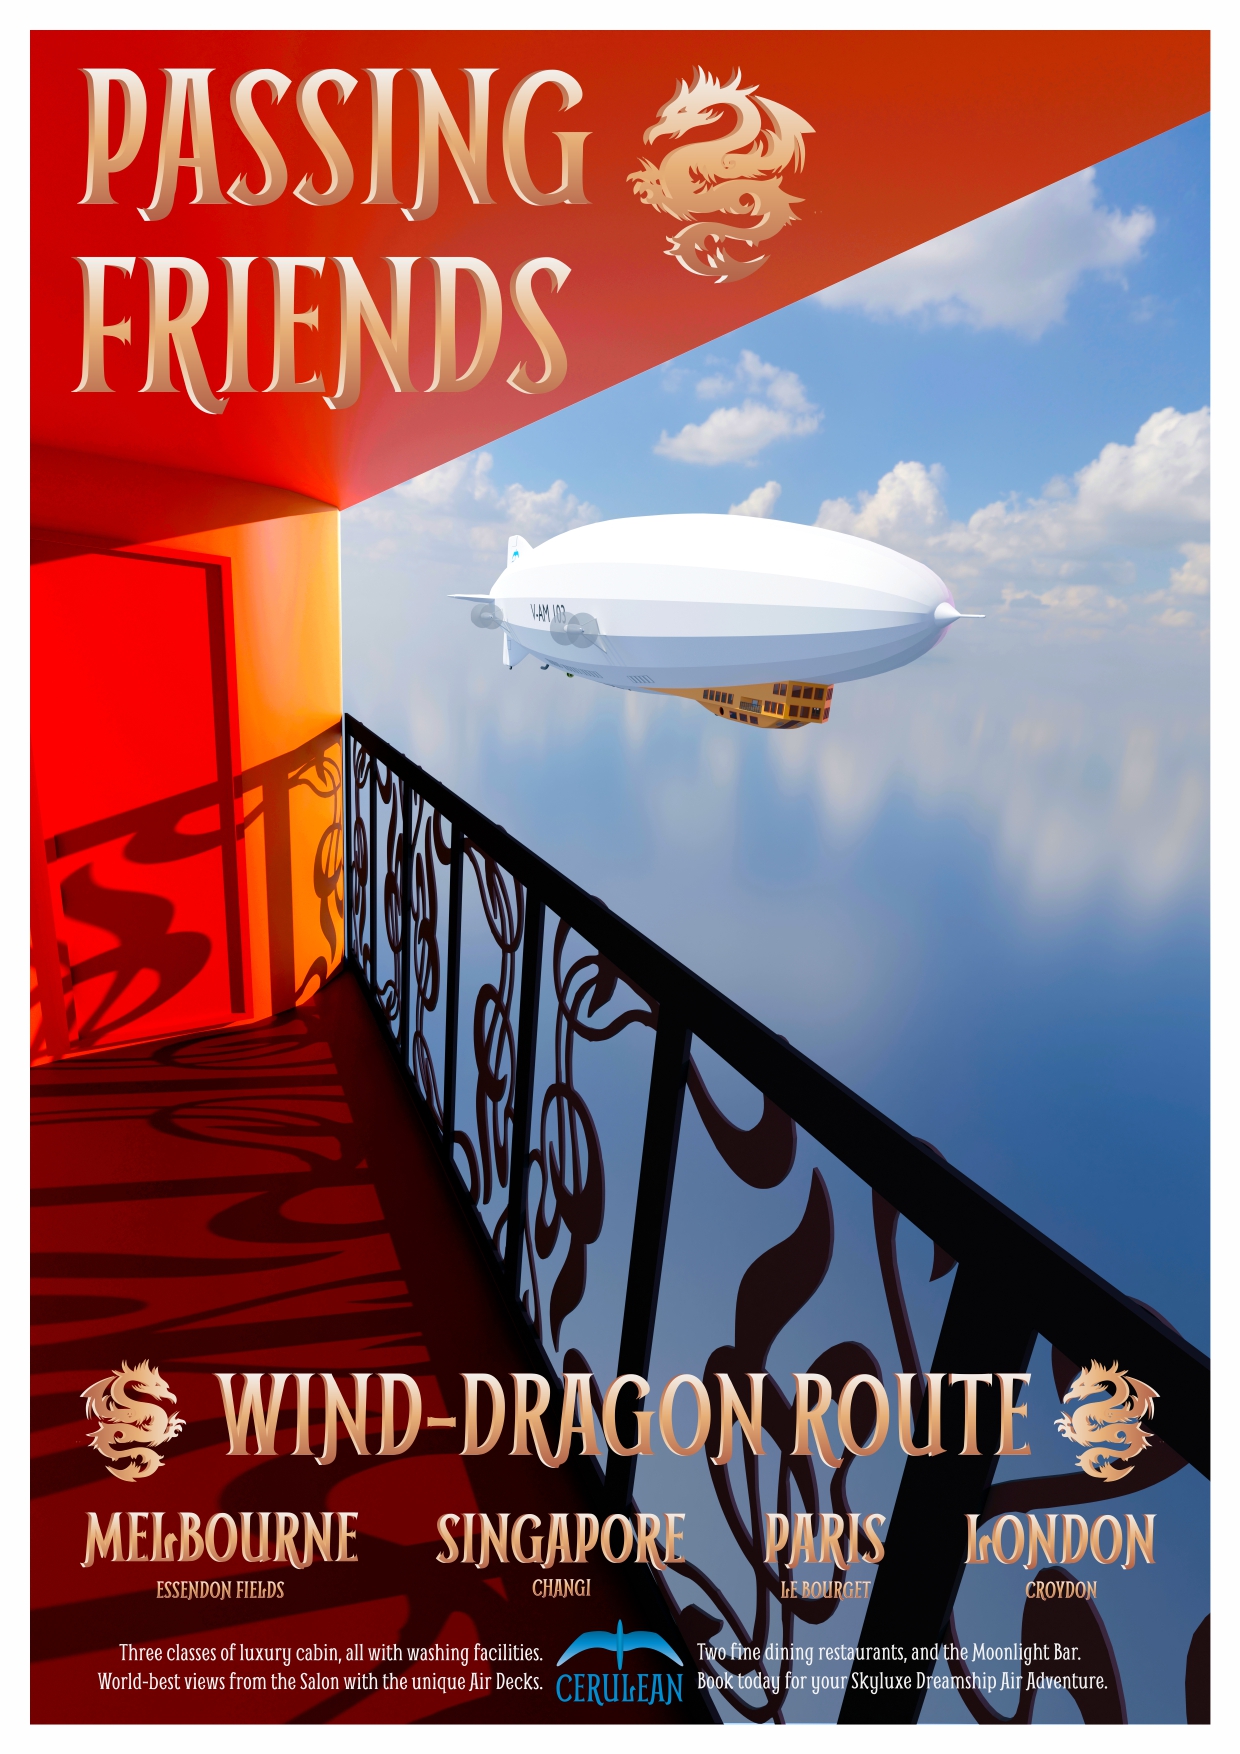
The SkyLuxe Passing Friends poster.
Materials and rendering
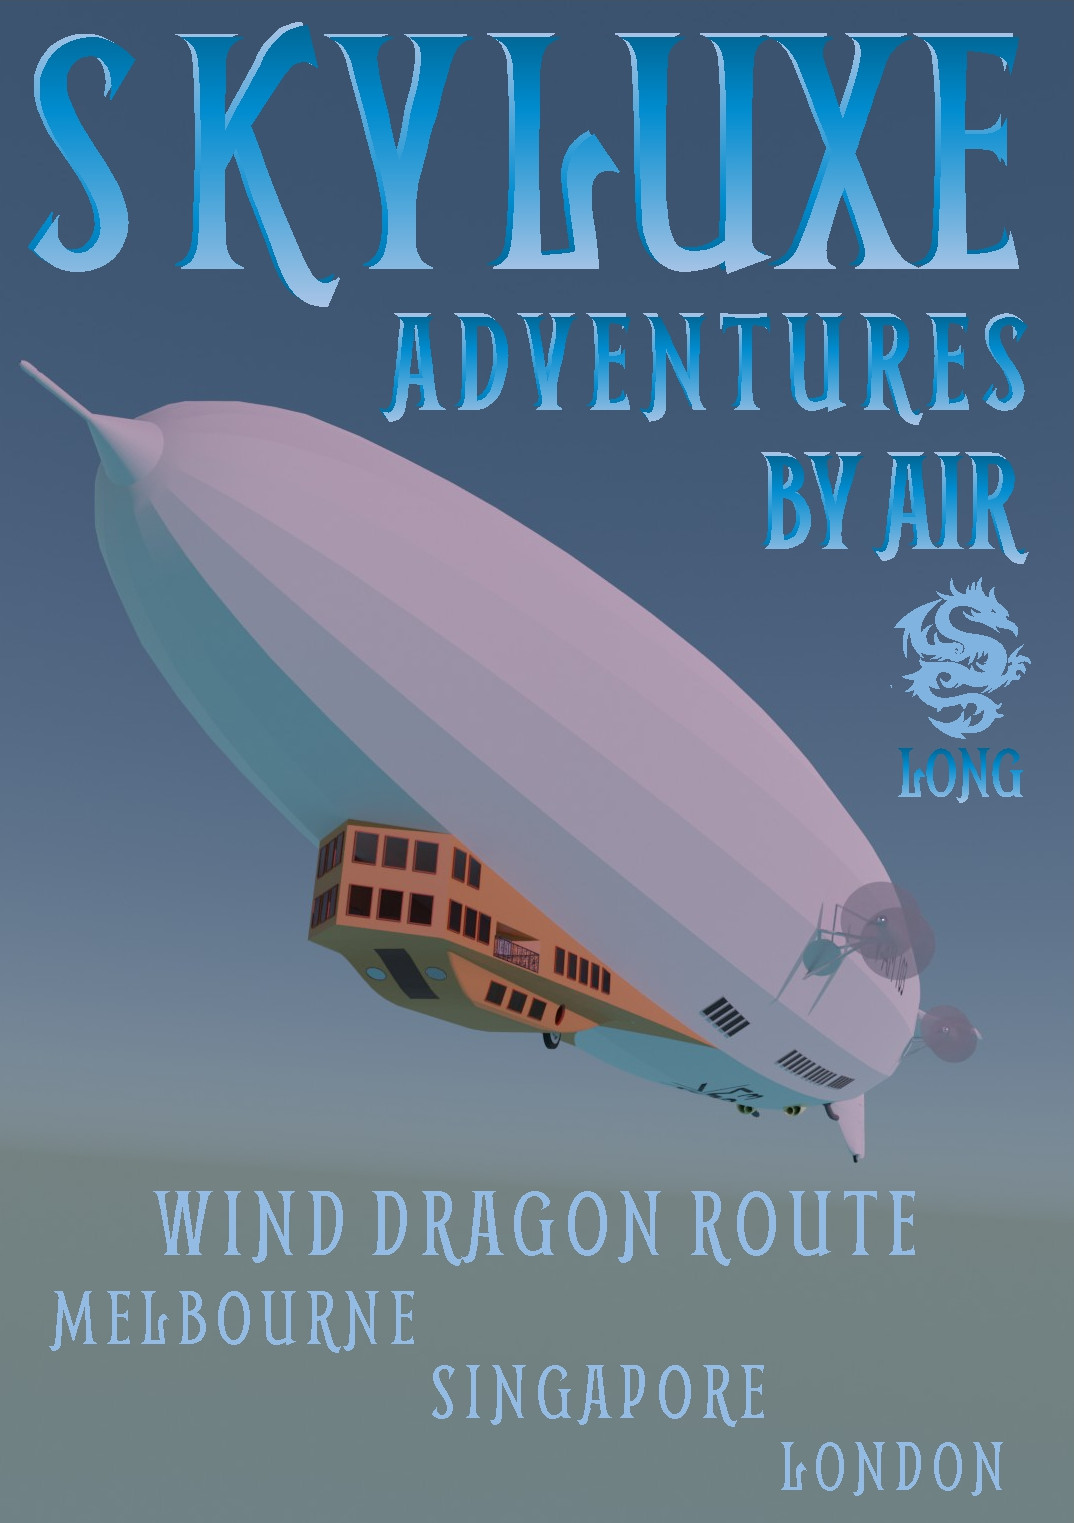
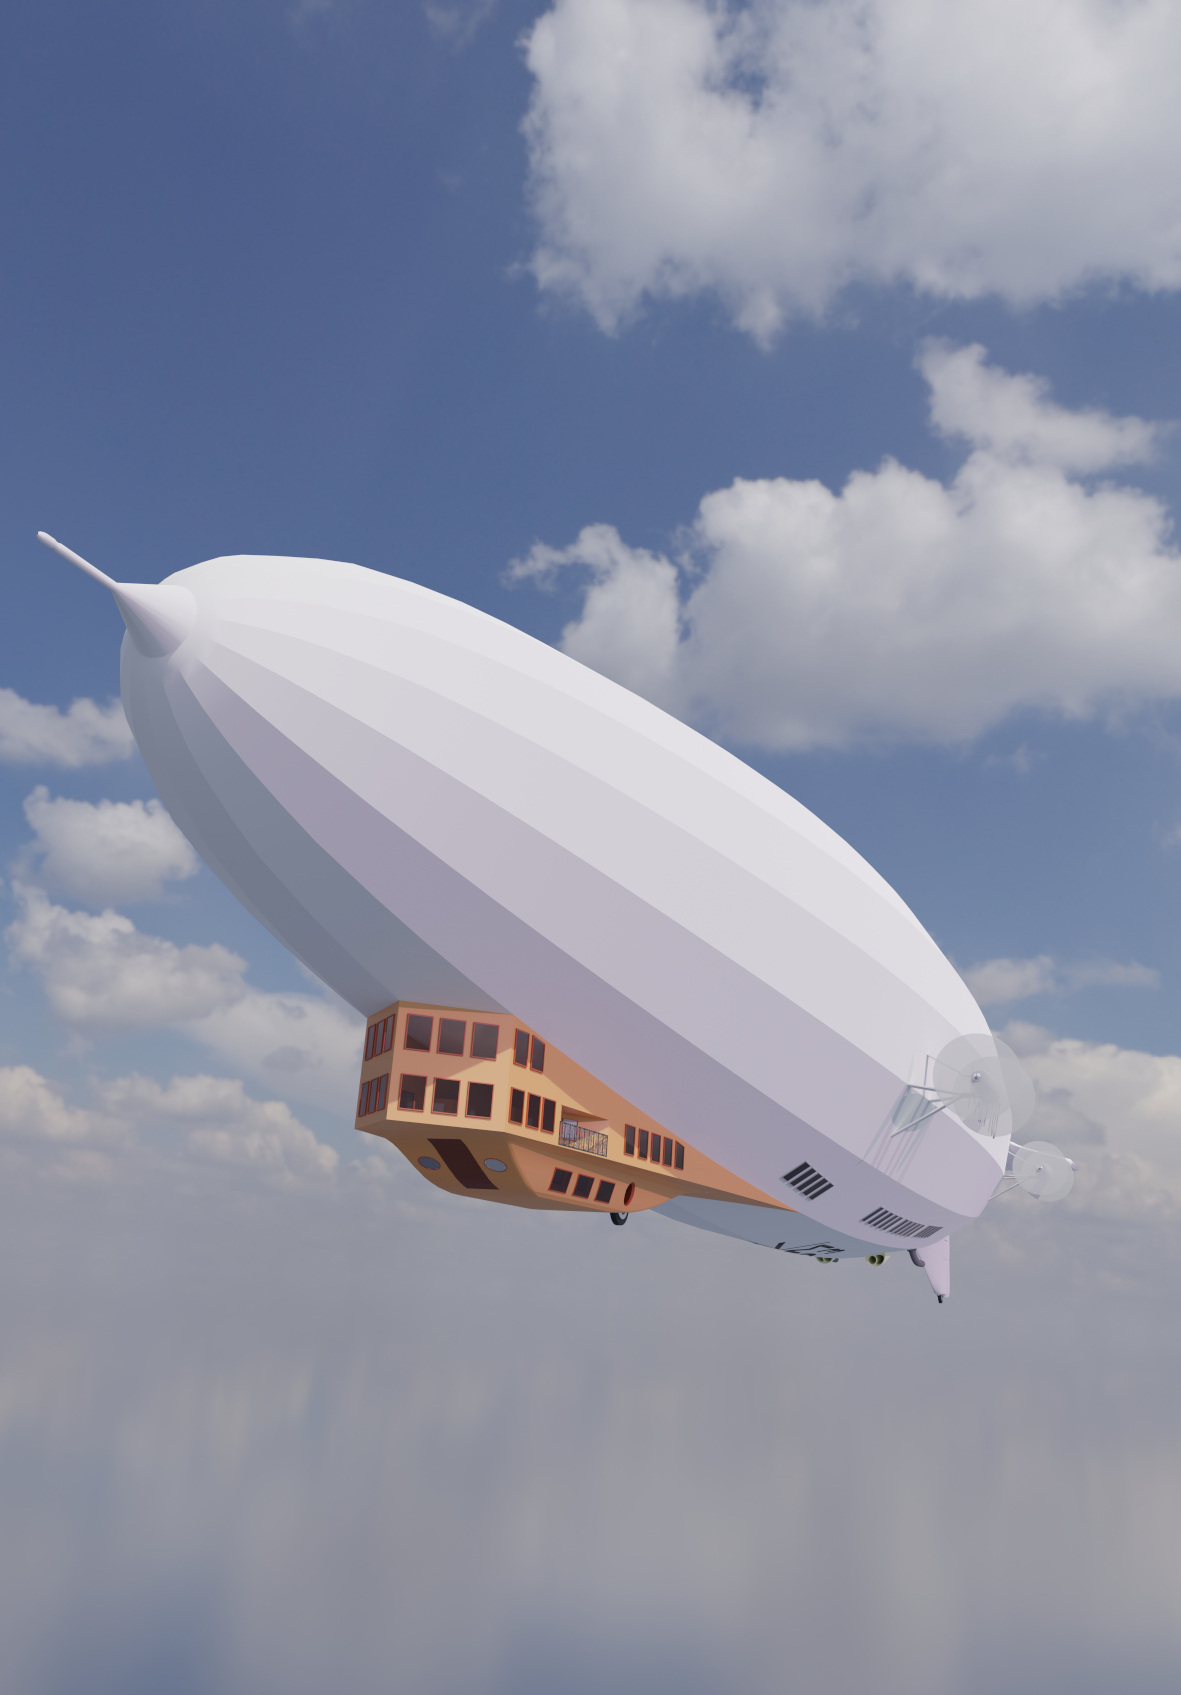
Every part of the airship is now linked to an appropriate material. Over time I can come back and refine and improve those materials. The point of developing 3D models is to help me develop the travel posters. A 3D model can be used to render any number of images using different backgrounds and settings. I tried a workflow and came up with the image above. It is very rough and ready but shows me the potential of the process. This uses one of Blender's built in skies.
Skyluxe HDRI
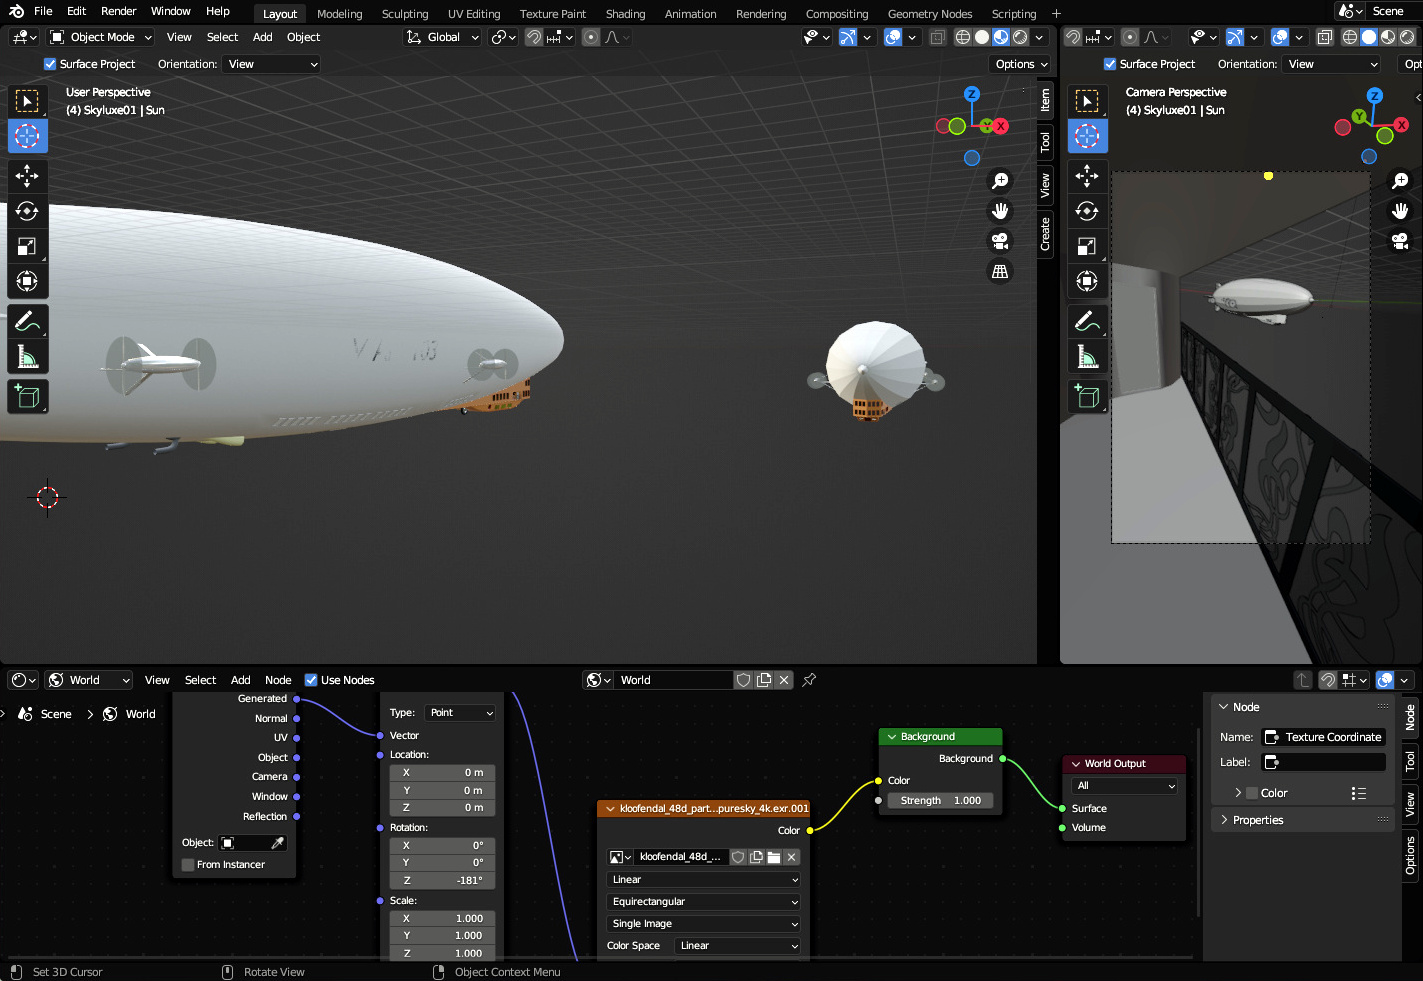
I needed to do so much more with my Skyluxe render and to this end found a great HDRI image on Poly Haven. I loaded the HDRI and was able to manipulate it using nodes in the World view of the Shader Editor. HDRI is short for High Dynamic Range Image. Digital cameras only have a limited dynamic range — that’s why some areas of a photo appear darker than they do in real life. HDRIs give photo editors a chance to brighten the corners and create an image that looks more natural. The HDRIs used with Blender are typically 360 degree images. They render as a great background and provide the lighting for the scene. HDRIs are also very big files.
I wanted an image that was big enough to print as an A2 poster. Using 300 dots per inch (dpi) as the standard, means coming up with an image that is 4,724 by 6,780 pixels. I set that up and let it go. The processor was working so hard on my laptop that I think it overwhelmed the power supply on my docking station and the second monitor shut down. The render took three hours. That laptop is hardly the latest in technology though. Anyway, I think I got a good result. Now I can work on the text.
Skyluxe posters
Creating a rendered image is one thing - knowing it is good enough for print is something else. Experience tells me that colours that look right when printed need to look a little saturated and brighter on your screen - and that is true whatever colour model you are using. So my Skyluxe rendered image is all very lovely but lacks the saturation and contrast for print.
I could go back and re-render in Blender using different lighting - in the end it was easier to use GIMP to tweak the colours. That done, it was time for my poster text and this is where I came up against an issue. The original plan and layout posters used a font with a blue fill so that is where I went first, but against that sky image? No, it wasn't quite right. Looking at it again, the orange colour of the gondola looked like a good candidate, so I tried that.
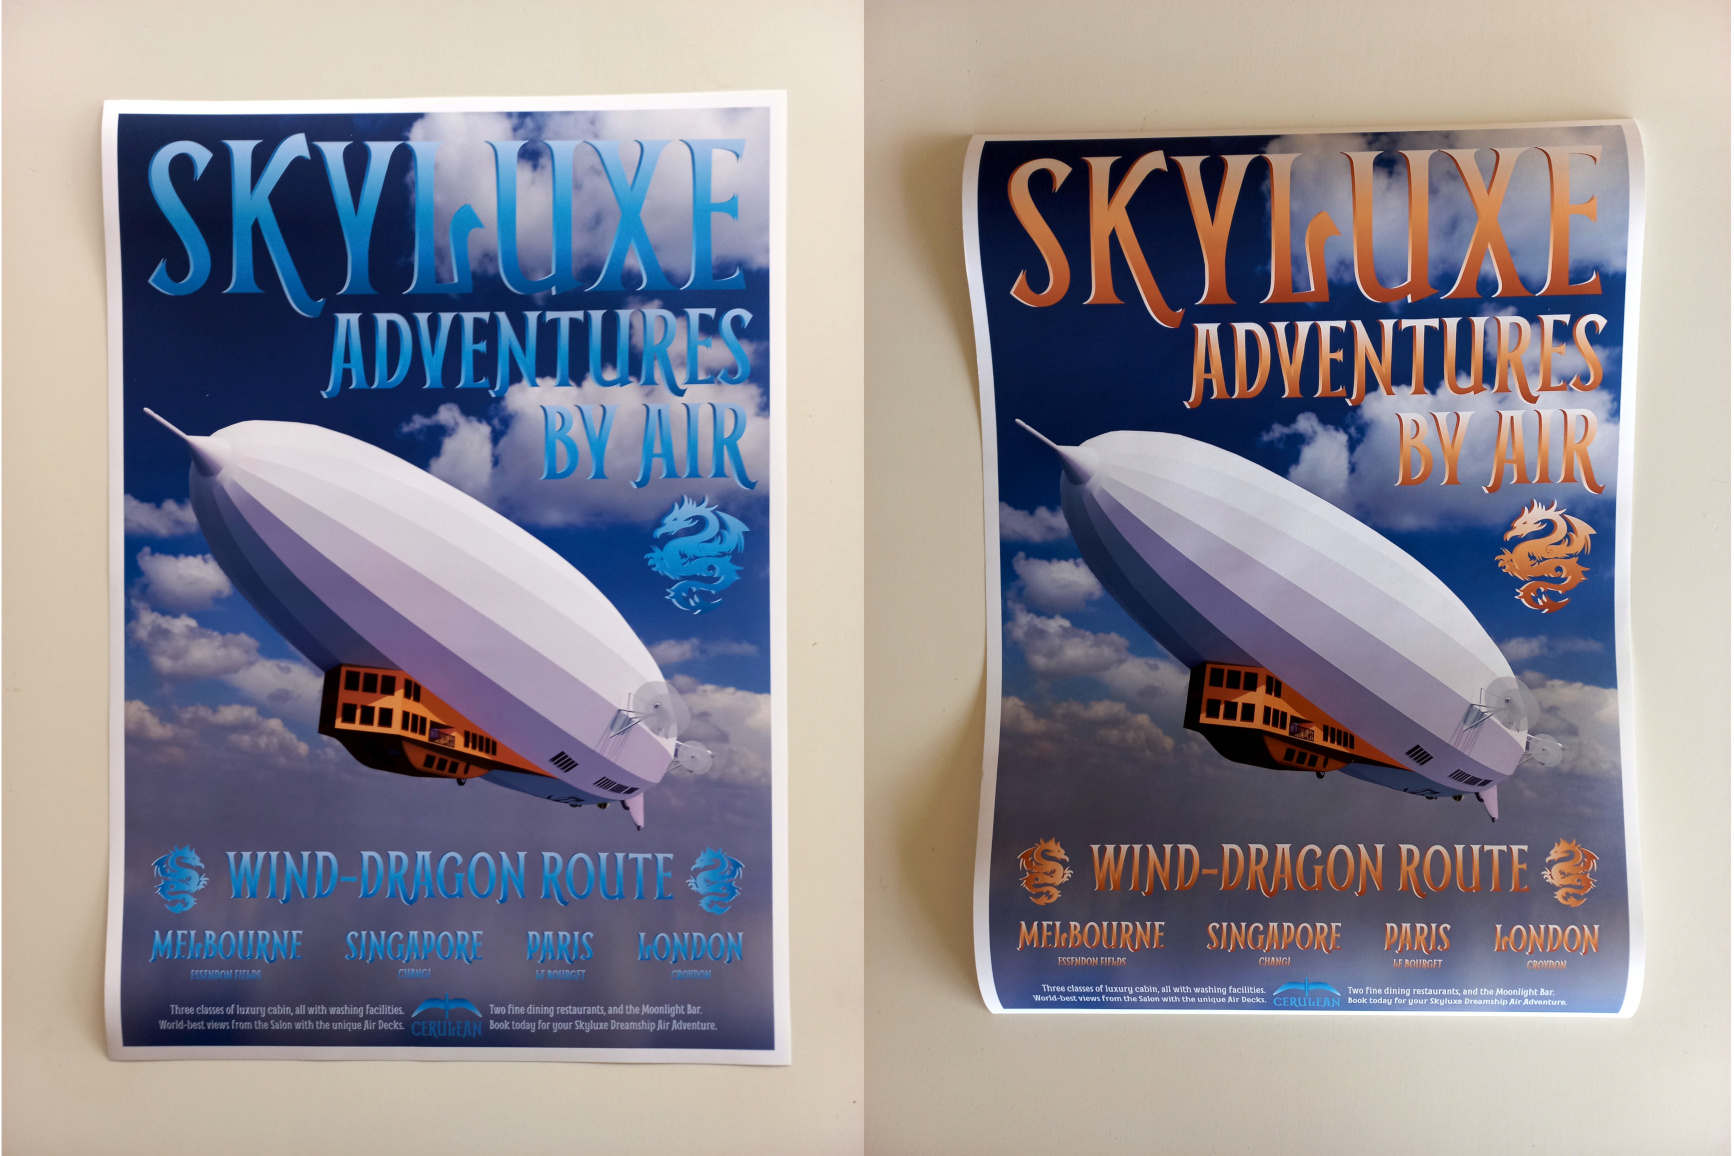
I think both have merit but in terms of impact the orange has it. The final "Skyluxe Dreamship Adventures By Air" poster.
A second SkyLuxe poster
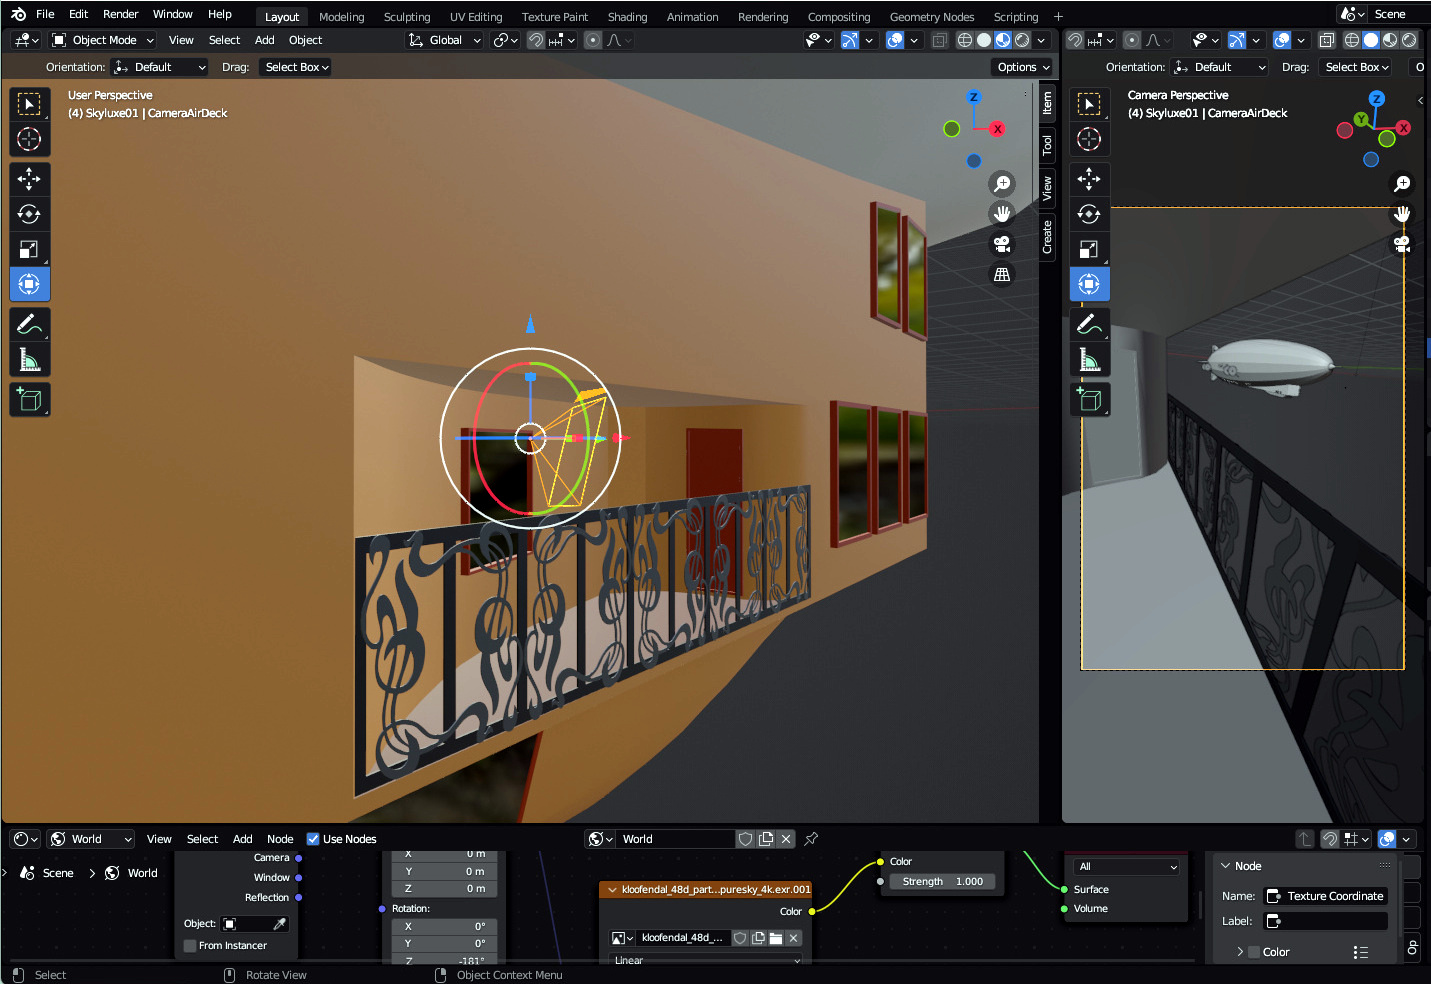
I had this idea for a poster showing SkyLuxe docking with the top of the Eiffel Tower. Even though airships have flown around the tower, and even bumped into it, I don't think any have ever moored there - for good reason - it was never designed for that and it wasn't something I considered when drawing up SkyLuxe. A new concept came to me from the phrase "ships that pass in the night". I wanted airships rather than ships, and the whole thing to take place during the day so I could make something of it. To view one airship from the other - and the Air Deck provided the perfect viewing platform.
Now I have the SkyLuxe model it was a fairly simple process to duplicate it and position them as if they were passing each in flight - I imagined over Singapore for some reason.
Then it was a matter of placing a camera on the Air Deck of one airship and jiggling around with positions, cameras and the HDRI background to get everything looking right. There are a huge number of things you can adjust.
I did several test renders which all looked very promising so set it up for the big 4,724 by 6,780 pixel render which is what I needed for my 300 dpi A2 poster. This render took a little over two hours on the old laptop. As I mentioned before, colours have to be brightened and saturated a little to look good. I did that, applied the text, and was pleased with the result which went off to Officeworks.
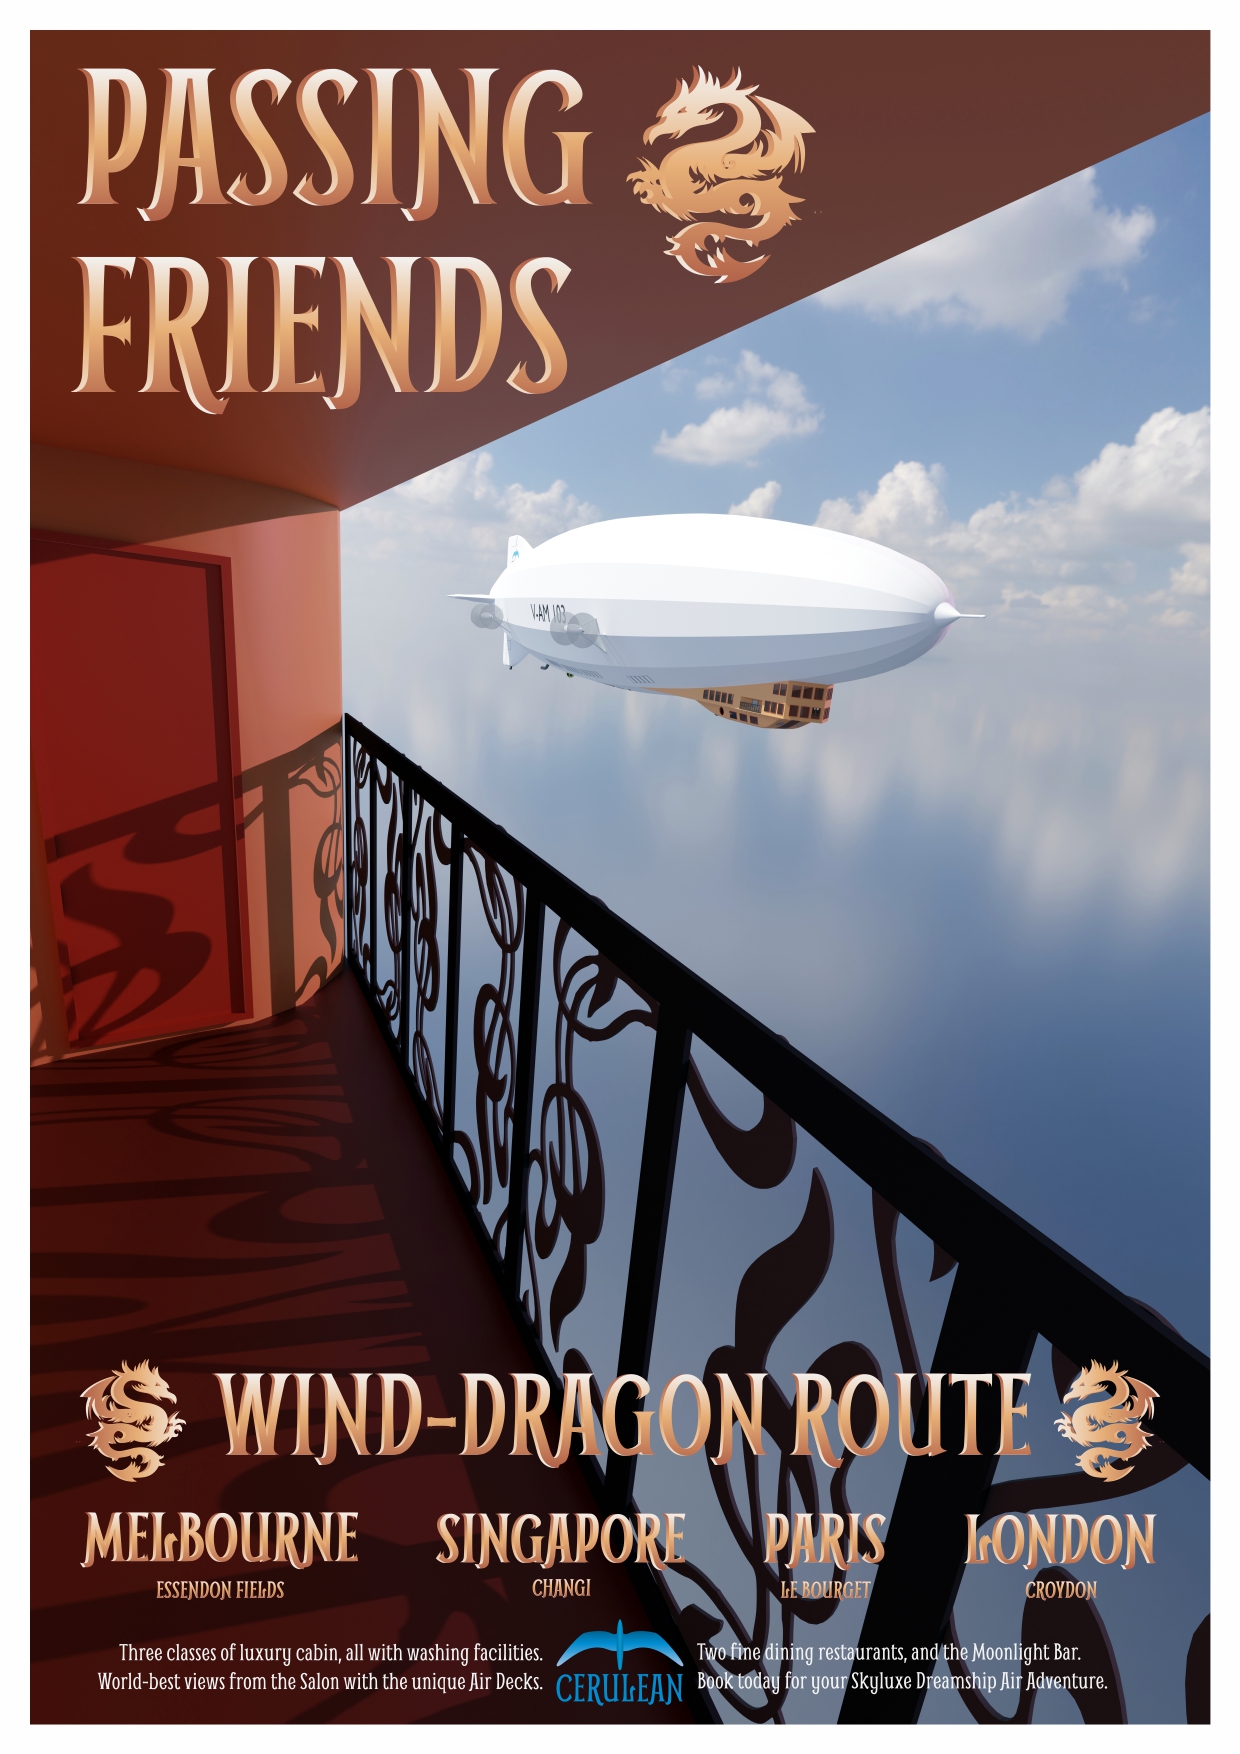
No - that didn't work out at all. The print was far too dark and the shadows were lost in one big black area. So back to GIMP and some serious tweaking to lighten the Air Deck and not wash out the airship image. Eventually I achieved a decent print - and I like the red tones.